Quick start: your first route plan
Applies to v1.7+ · ~8 min read · Getting started
This takes you through the whole app once — load your vehicles and jobs, optimize, and export a driver manifest. By the end you'll have produced your first route plan.
Before you start
Have two files ready — a vehicles file and a jobs file (CSV or Excel). Don't worry about column names; the app matches them for you.
1. Open the app and start setup
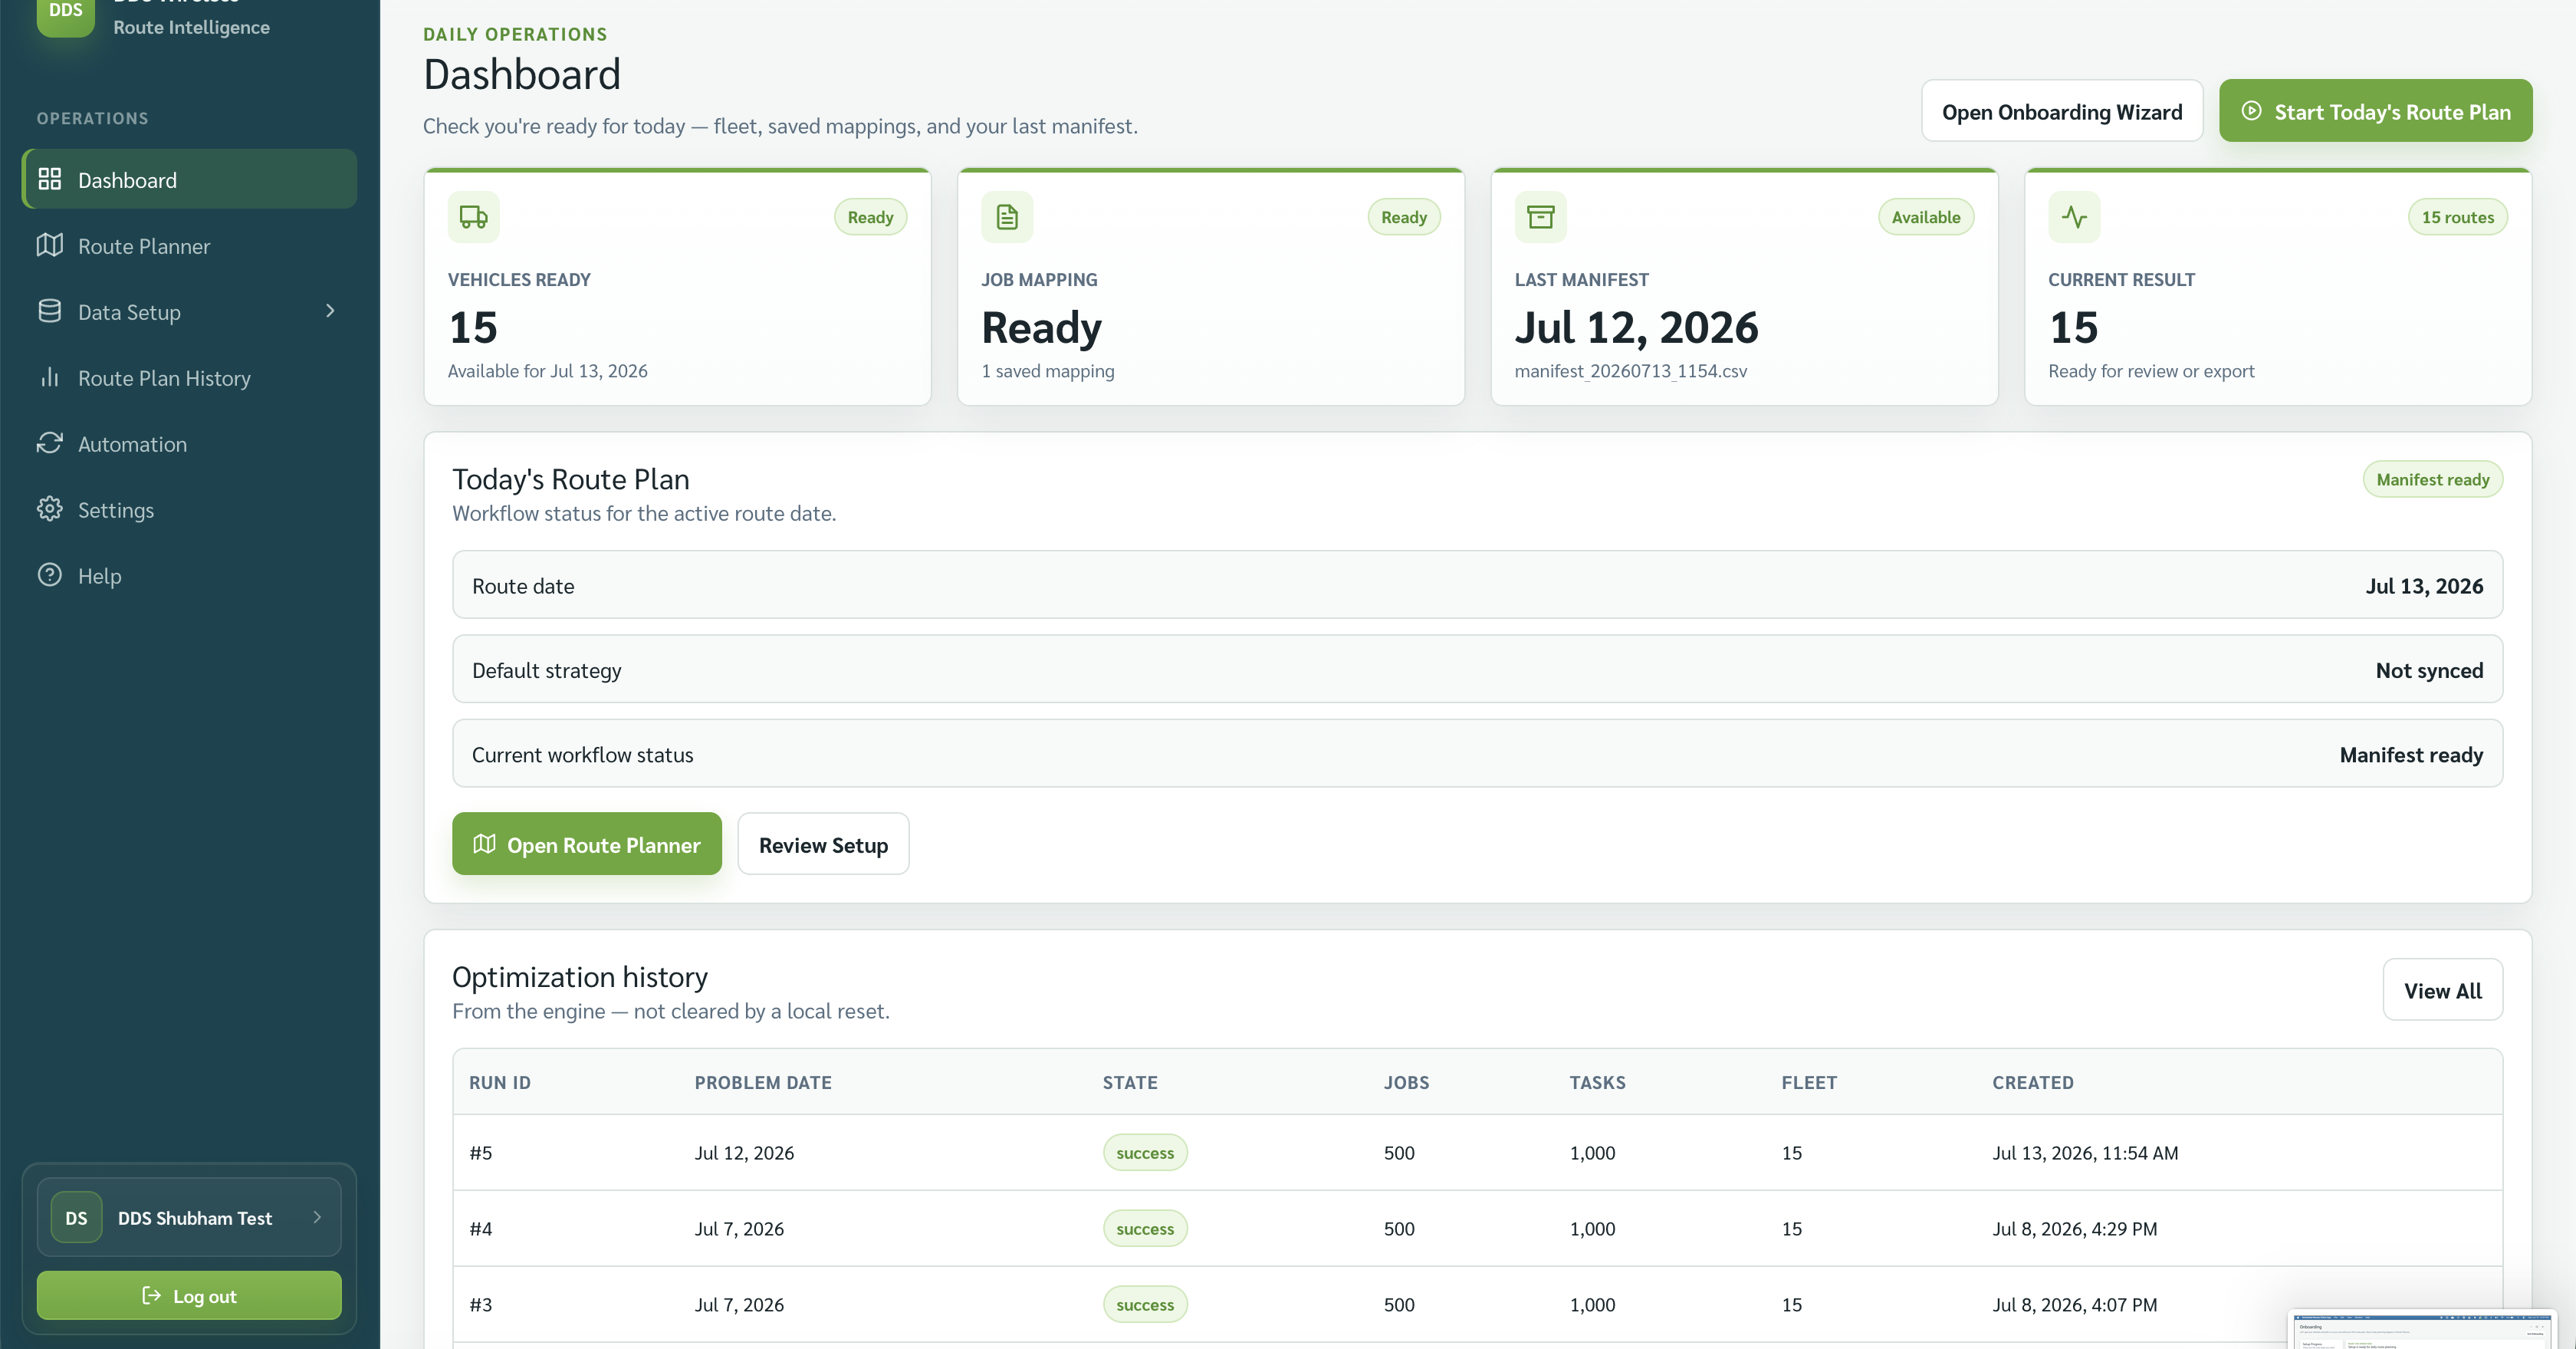
Sign in. On the Dashboard, the app opens the Onboarding wizard for first-time setup. You can reopen it anytime from Help → Open onboarding.
2. Import your vehicles
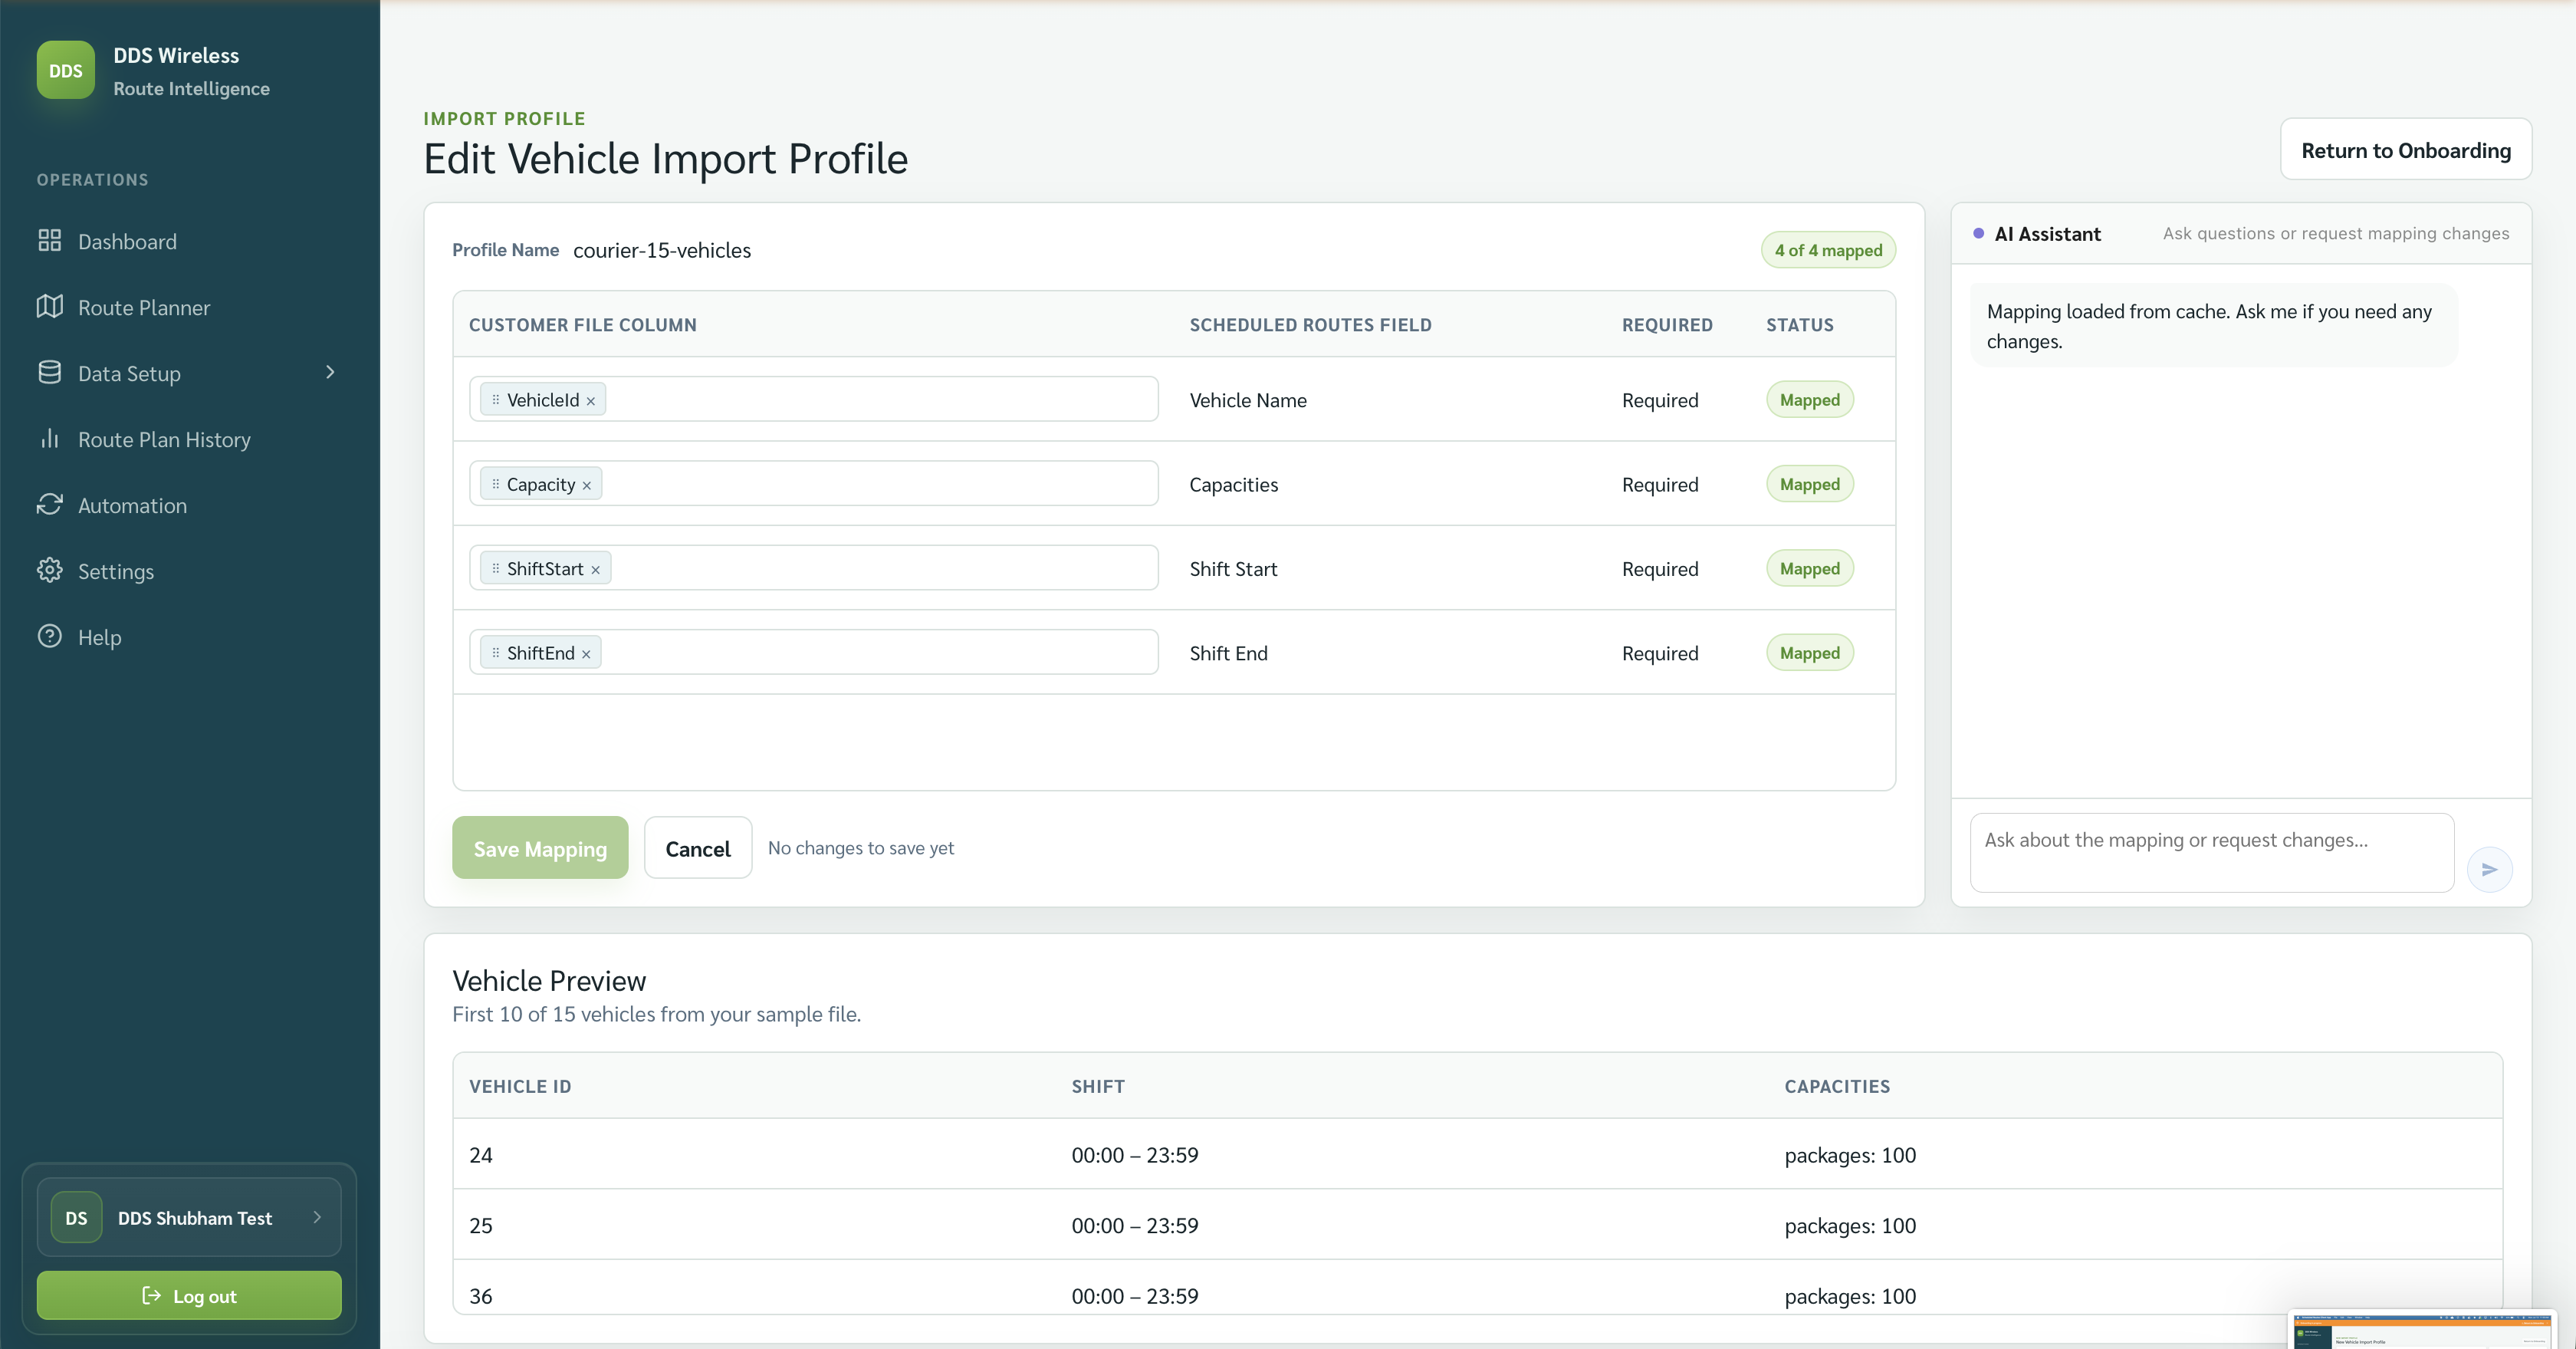
On Step 1 · Setup Data, under Fleet, choose Import Vehicles and pick your vehicles file. The app detects the columns — review the mapping.
Set a depot
Give your vehicles a Start location (depot). Without it the optimizer can't tell where drivers begin, and many jobs may come back unassigned.
Confirm the import. You'll see Imported N vehicles, and the Fleet card turns green.
3. Import your jobs
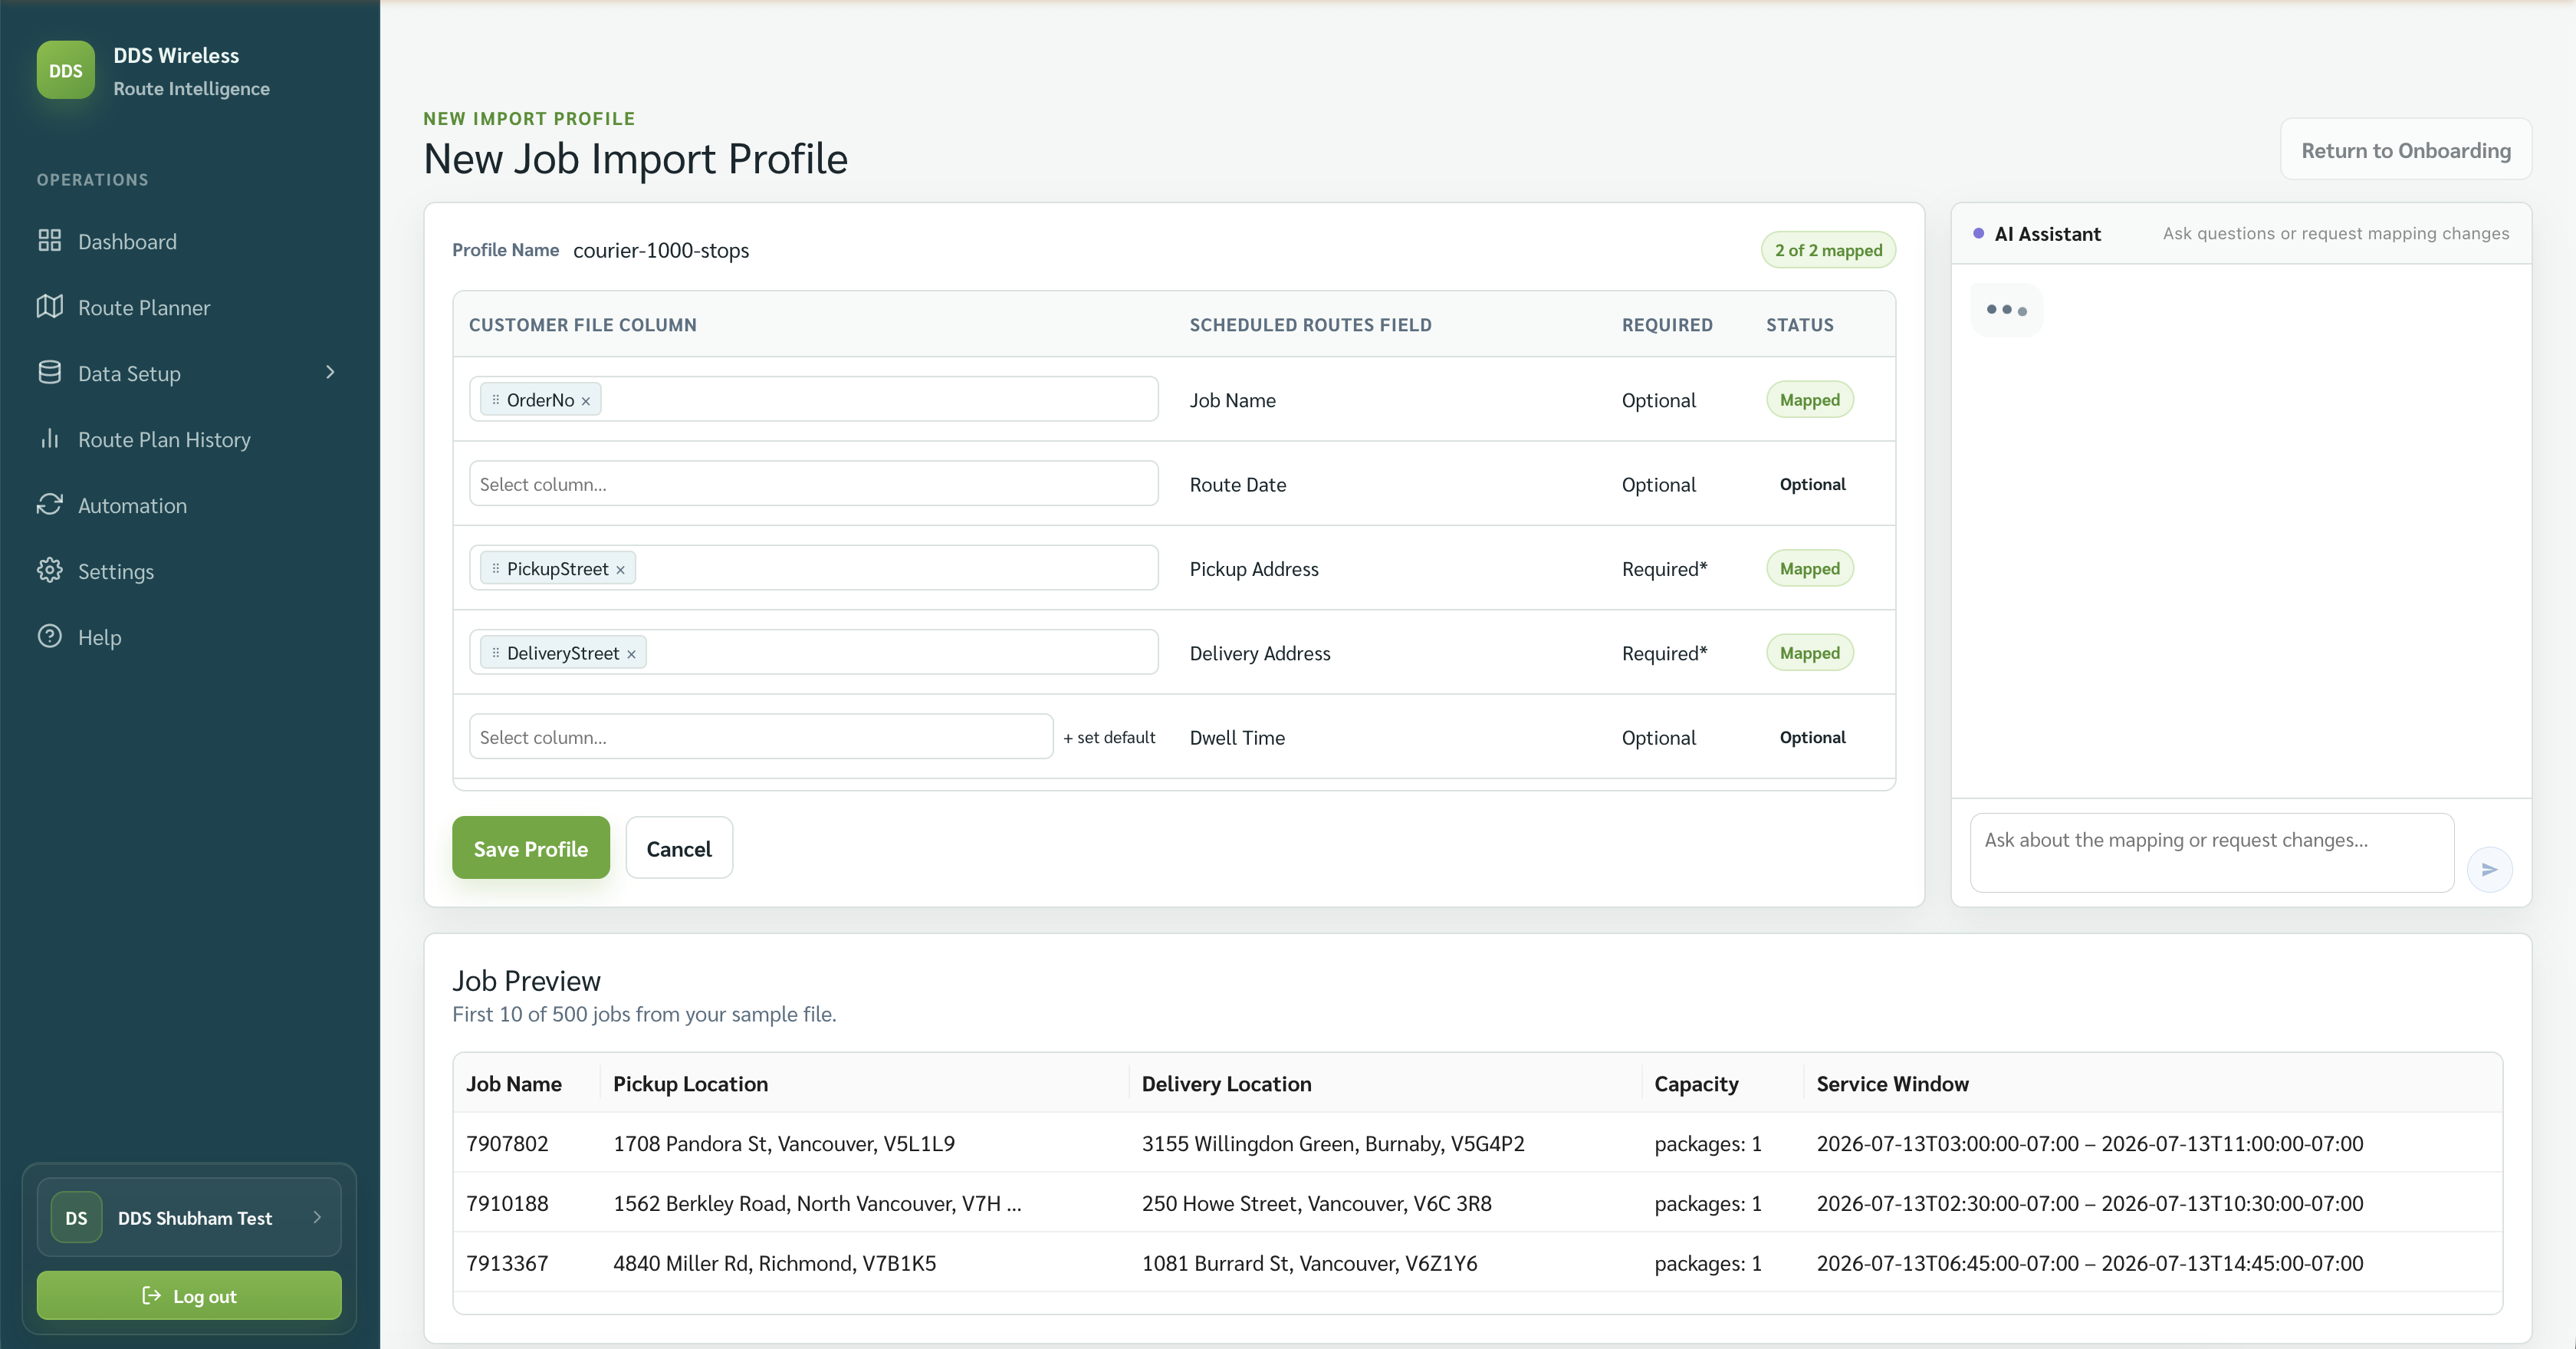
Still on Setup Data, under Daily Job File, choose Import Sample Jobs and pick your jobs file. Review the mapping — the assistant can combine separate street, city, and postal columns into one address. Confirm the import.
4. Open Route Planner
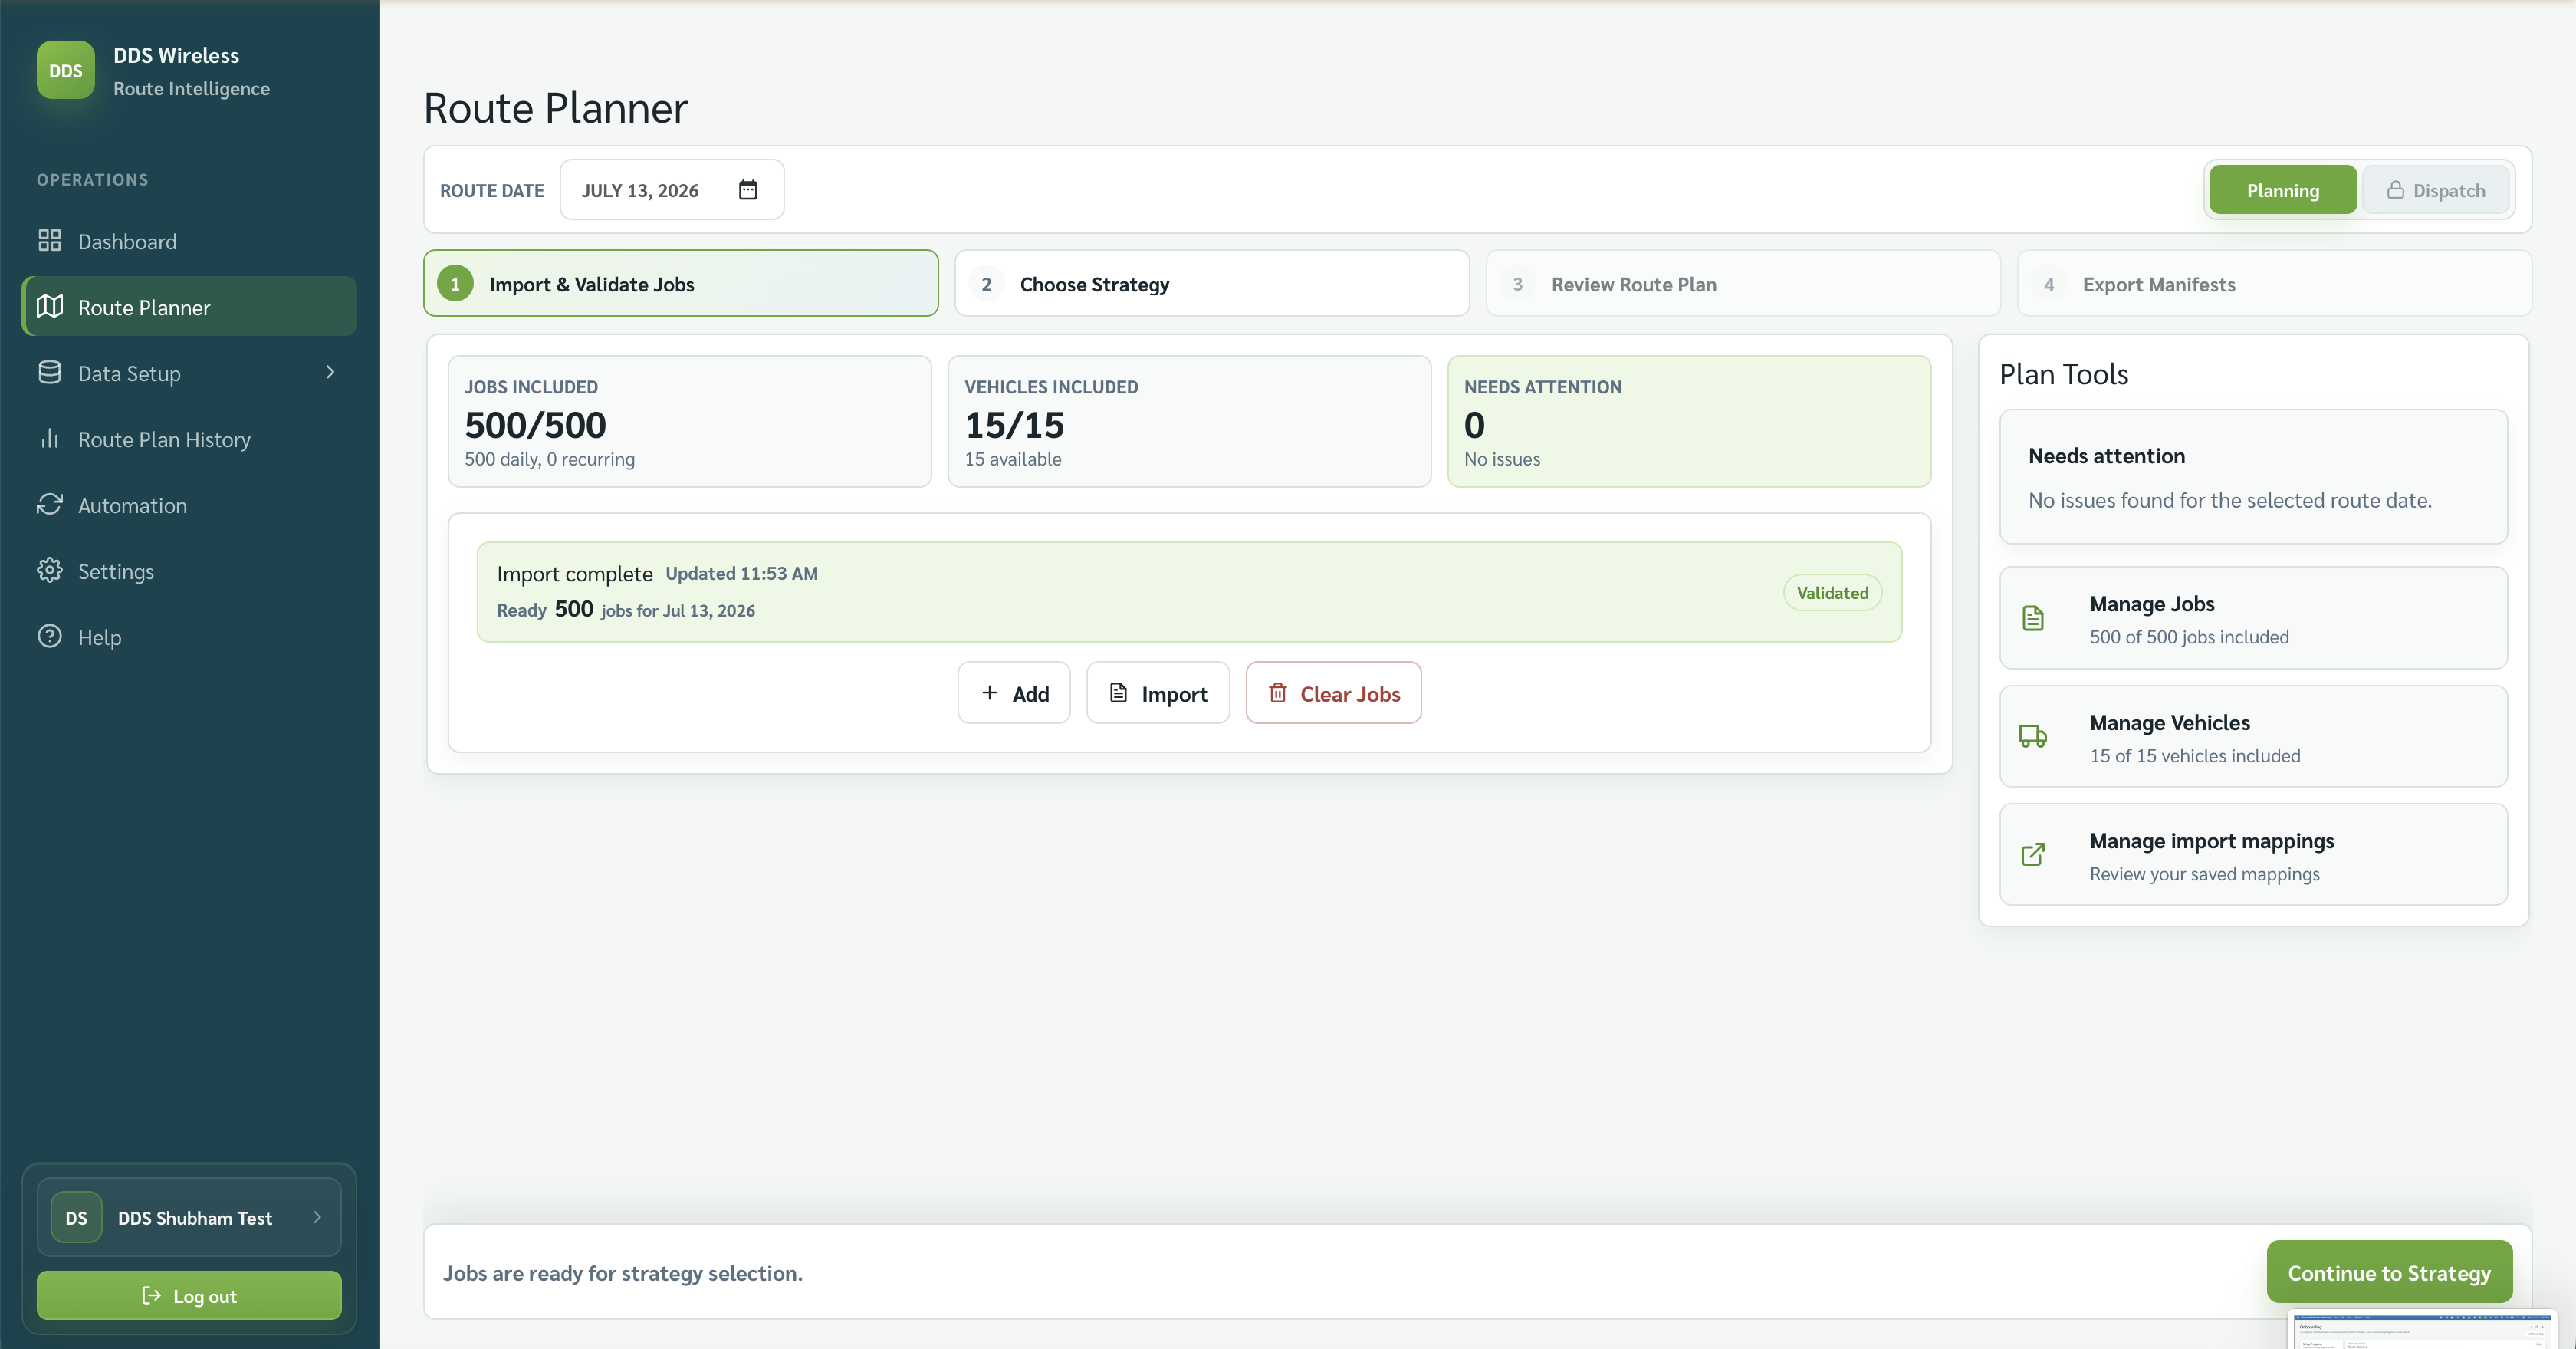
Continue to Step 2 · Route Planning and select Open Route Planner. Daily planning happens here.
5. Import & validate jobs
On Import & Validate Jobs, check that your jobs and vehicles are loaded (e.g. Jobs 500/500, Vehicles 15/15). Review Needs attention for any issues, then Continue to Strategy.
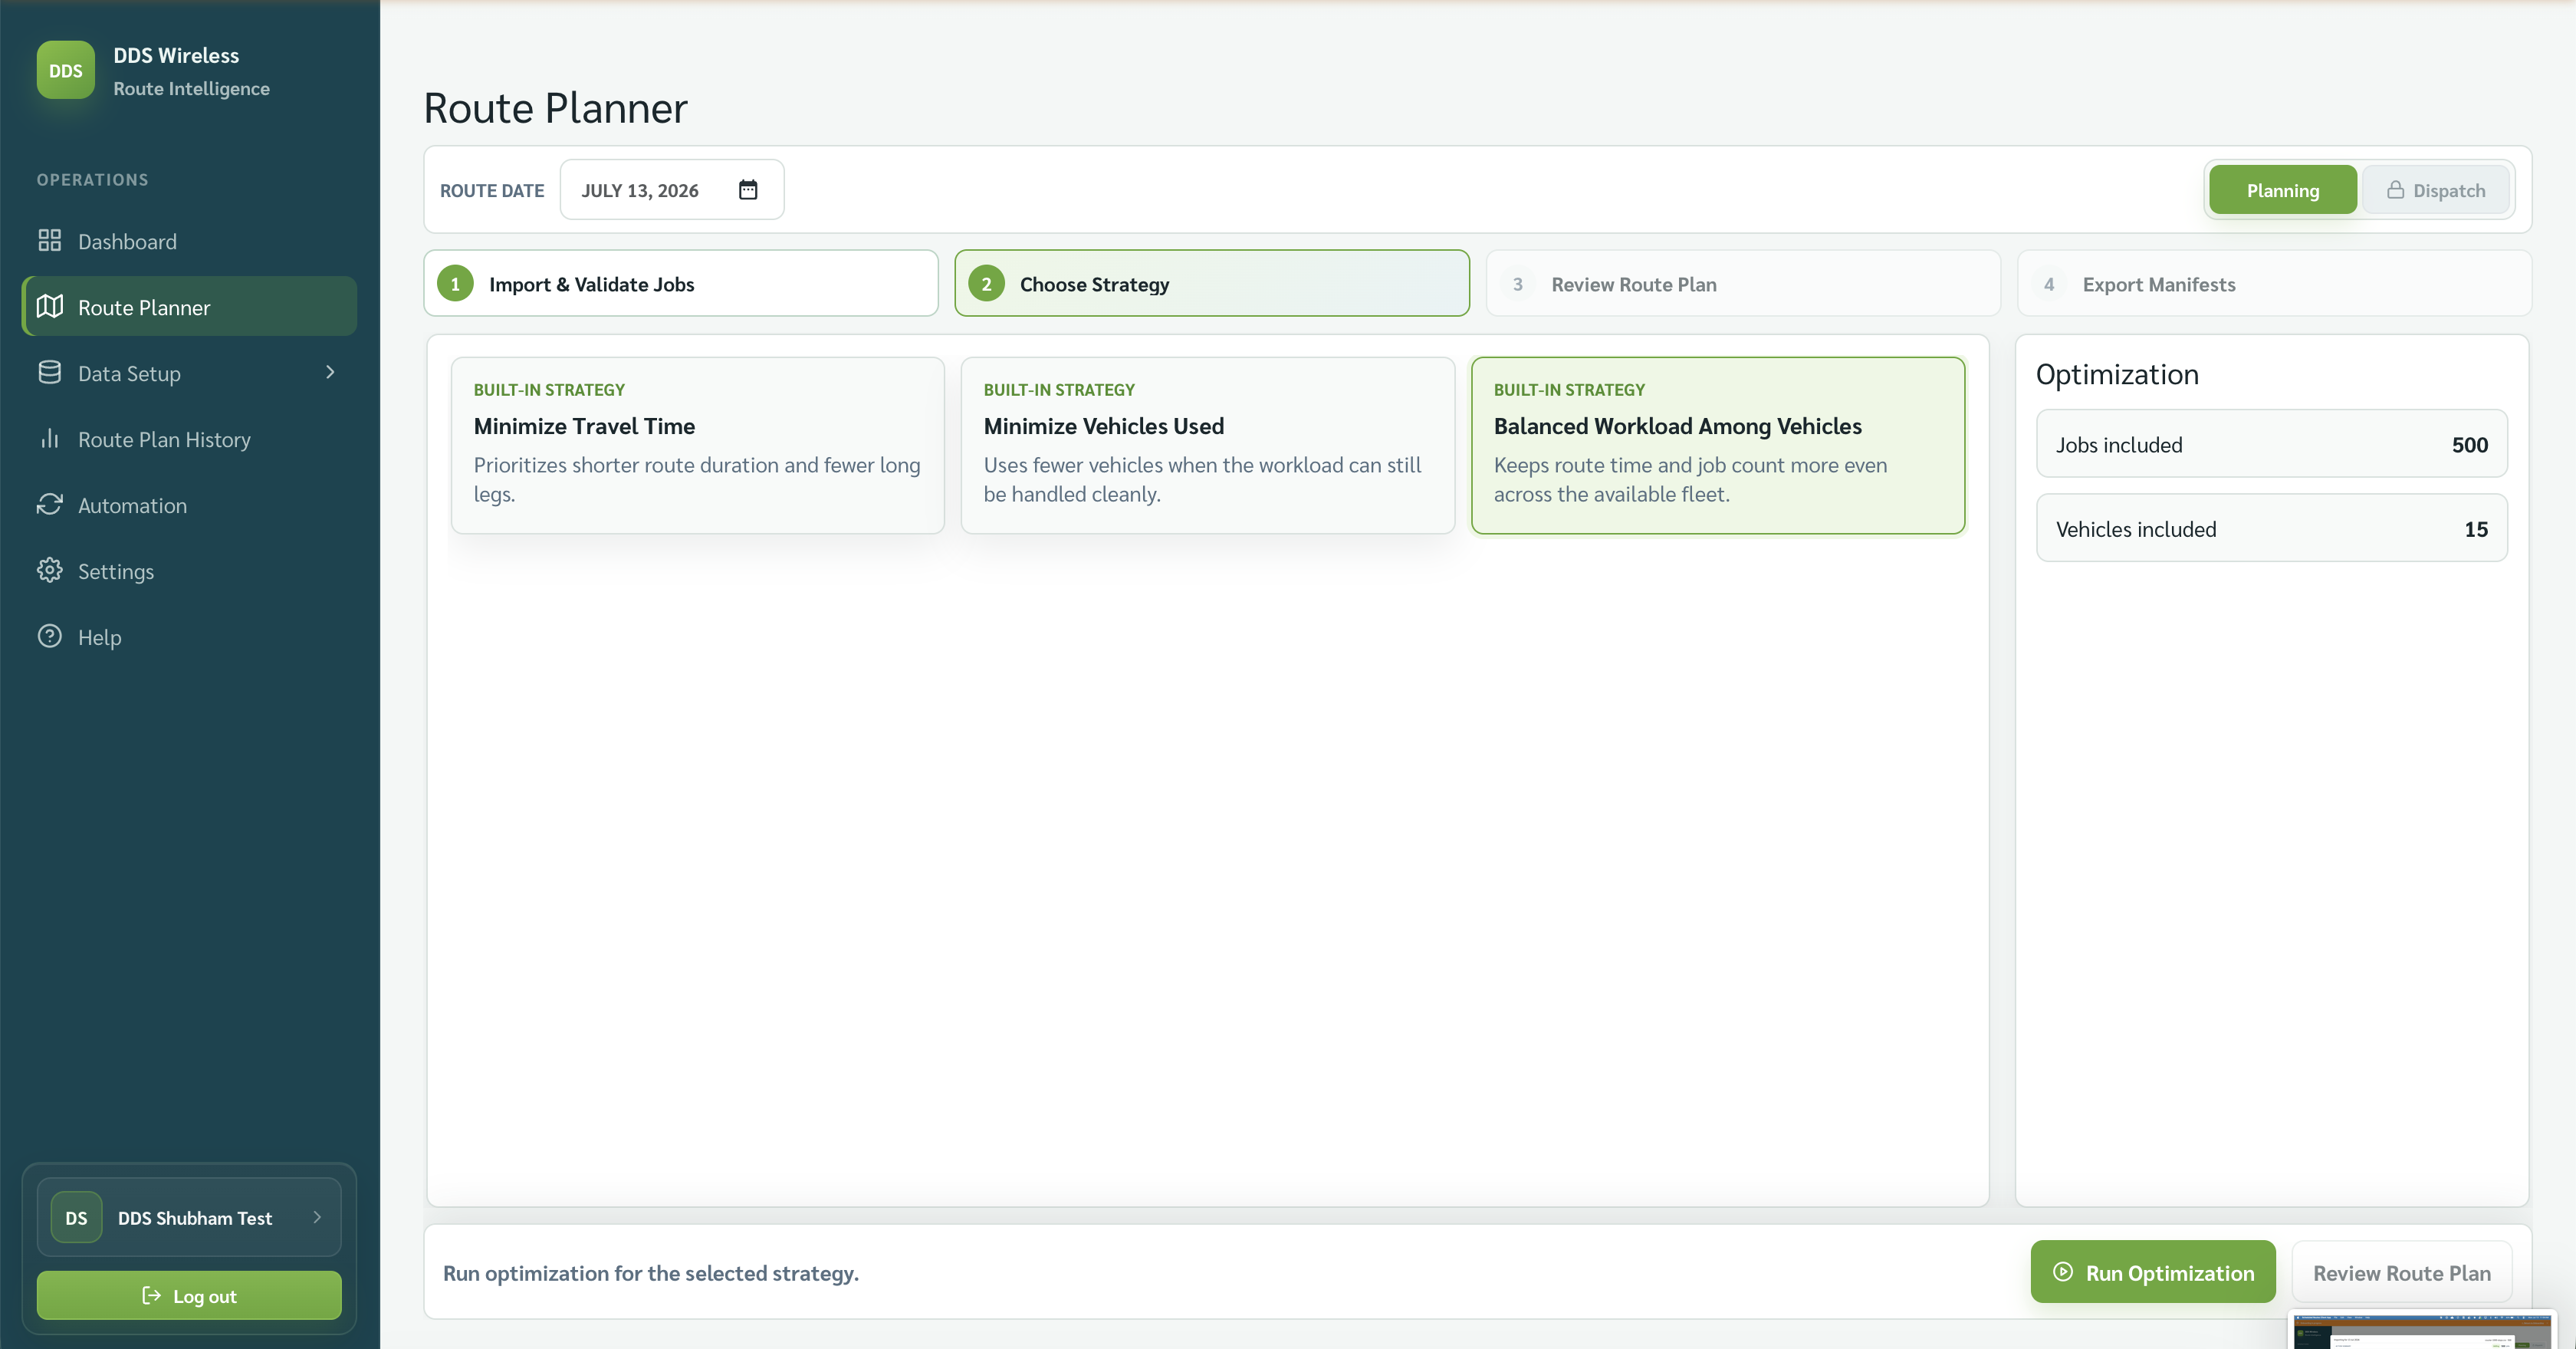
6. Choose a strategy
Pick how to optimize:
| Strategy | Best when |
|---|---|
| Minimize Travel Time | you want the least total driving |
| Minimize Vehicles Used | you want the fewest vehicles that still cover the work |
| Balanced Workload Among Vehicles | you want time and jobs spread evenly across drivers |
Optimization runs automatically. To choose well, see Choosing a strategy.
7. Review the route plan
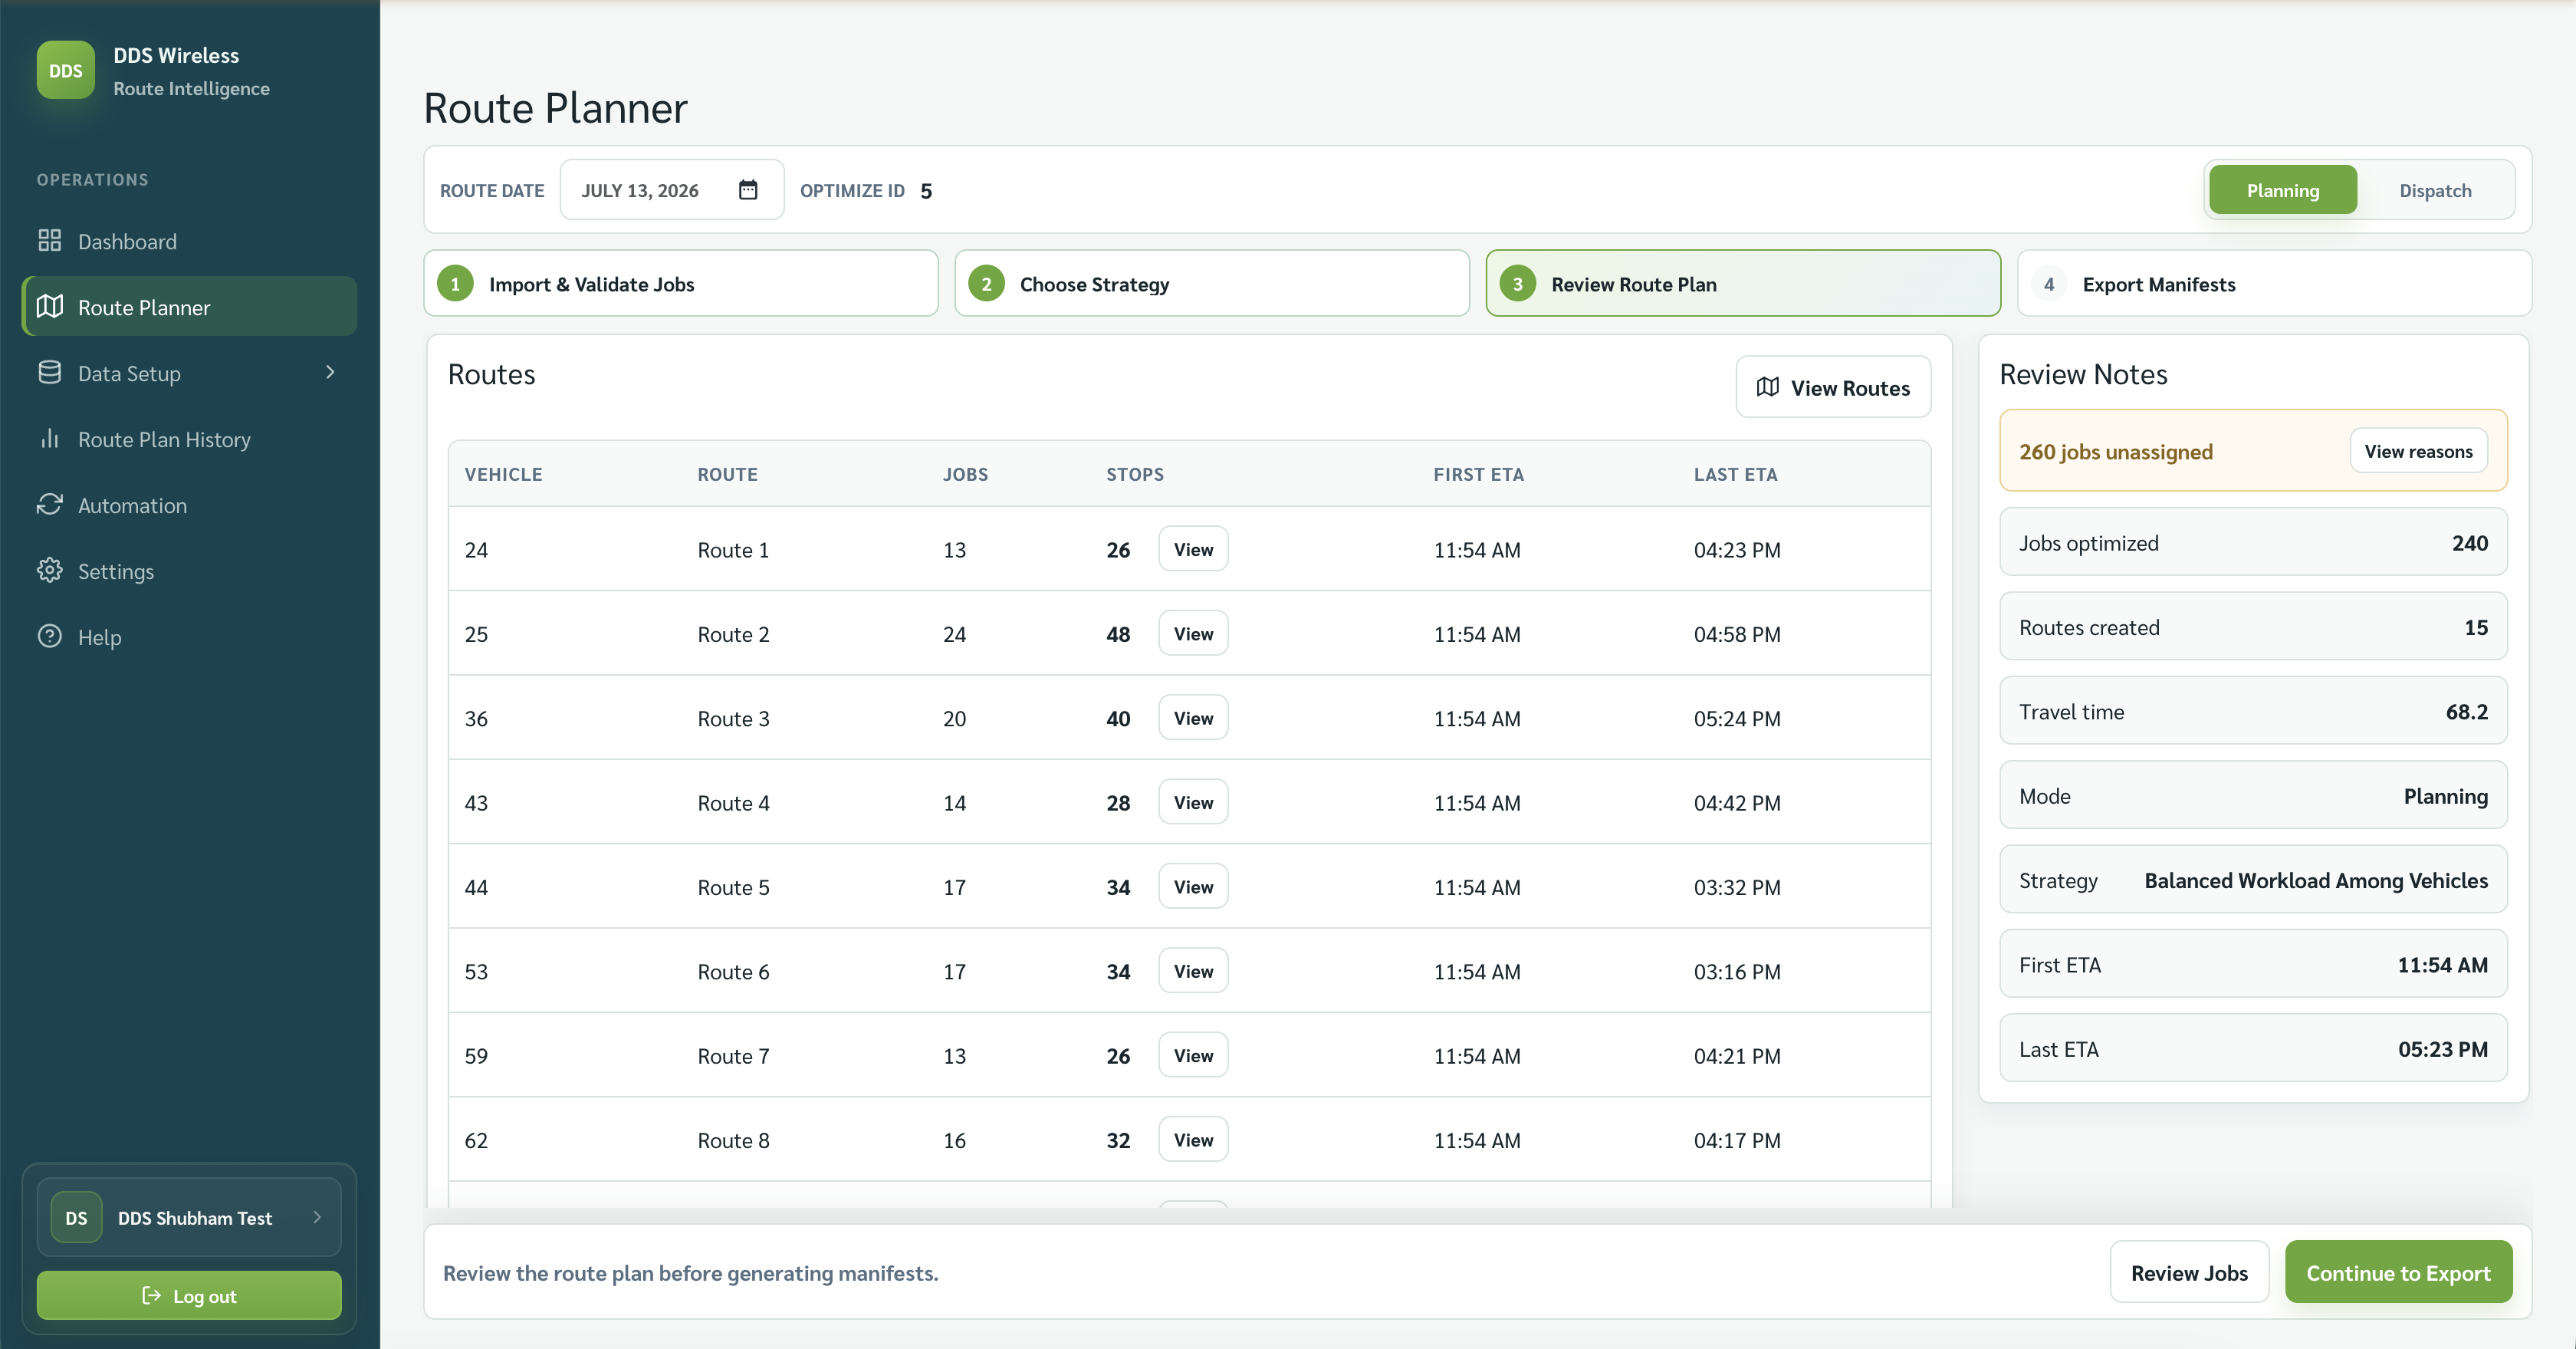
On Review Route Plan you'll see routes created, jobs optimized, travel time, and any unassigned jobs. Use View reasons to see why a job couldn't be placed and what to fix. When it looks right, Continue to Export.
Watch the unassigned count
A high unassigned count usually means a data fix — most often a missing vehicle start location (step 2) or impossible time windows.
8. Export your manifest
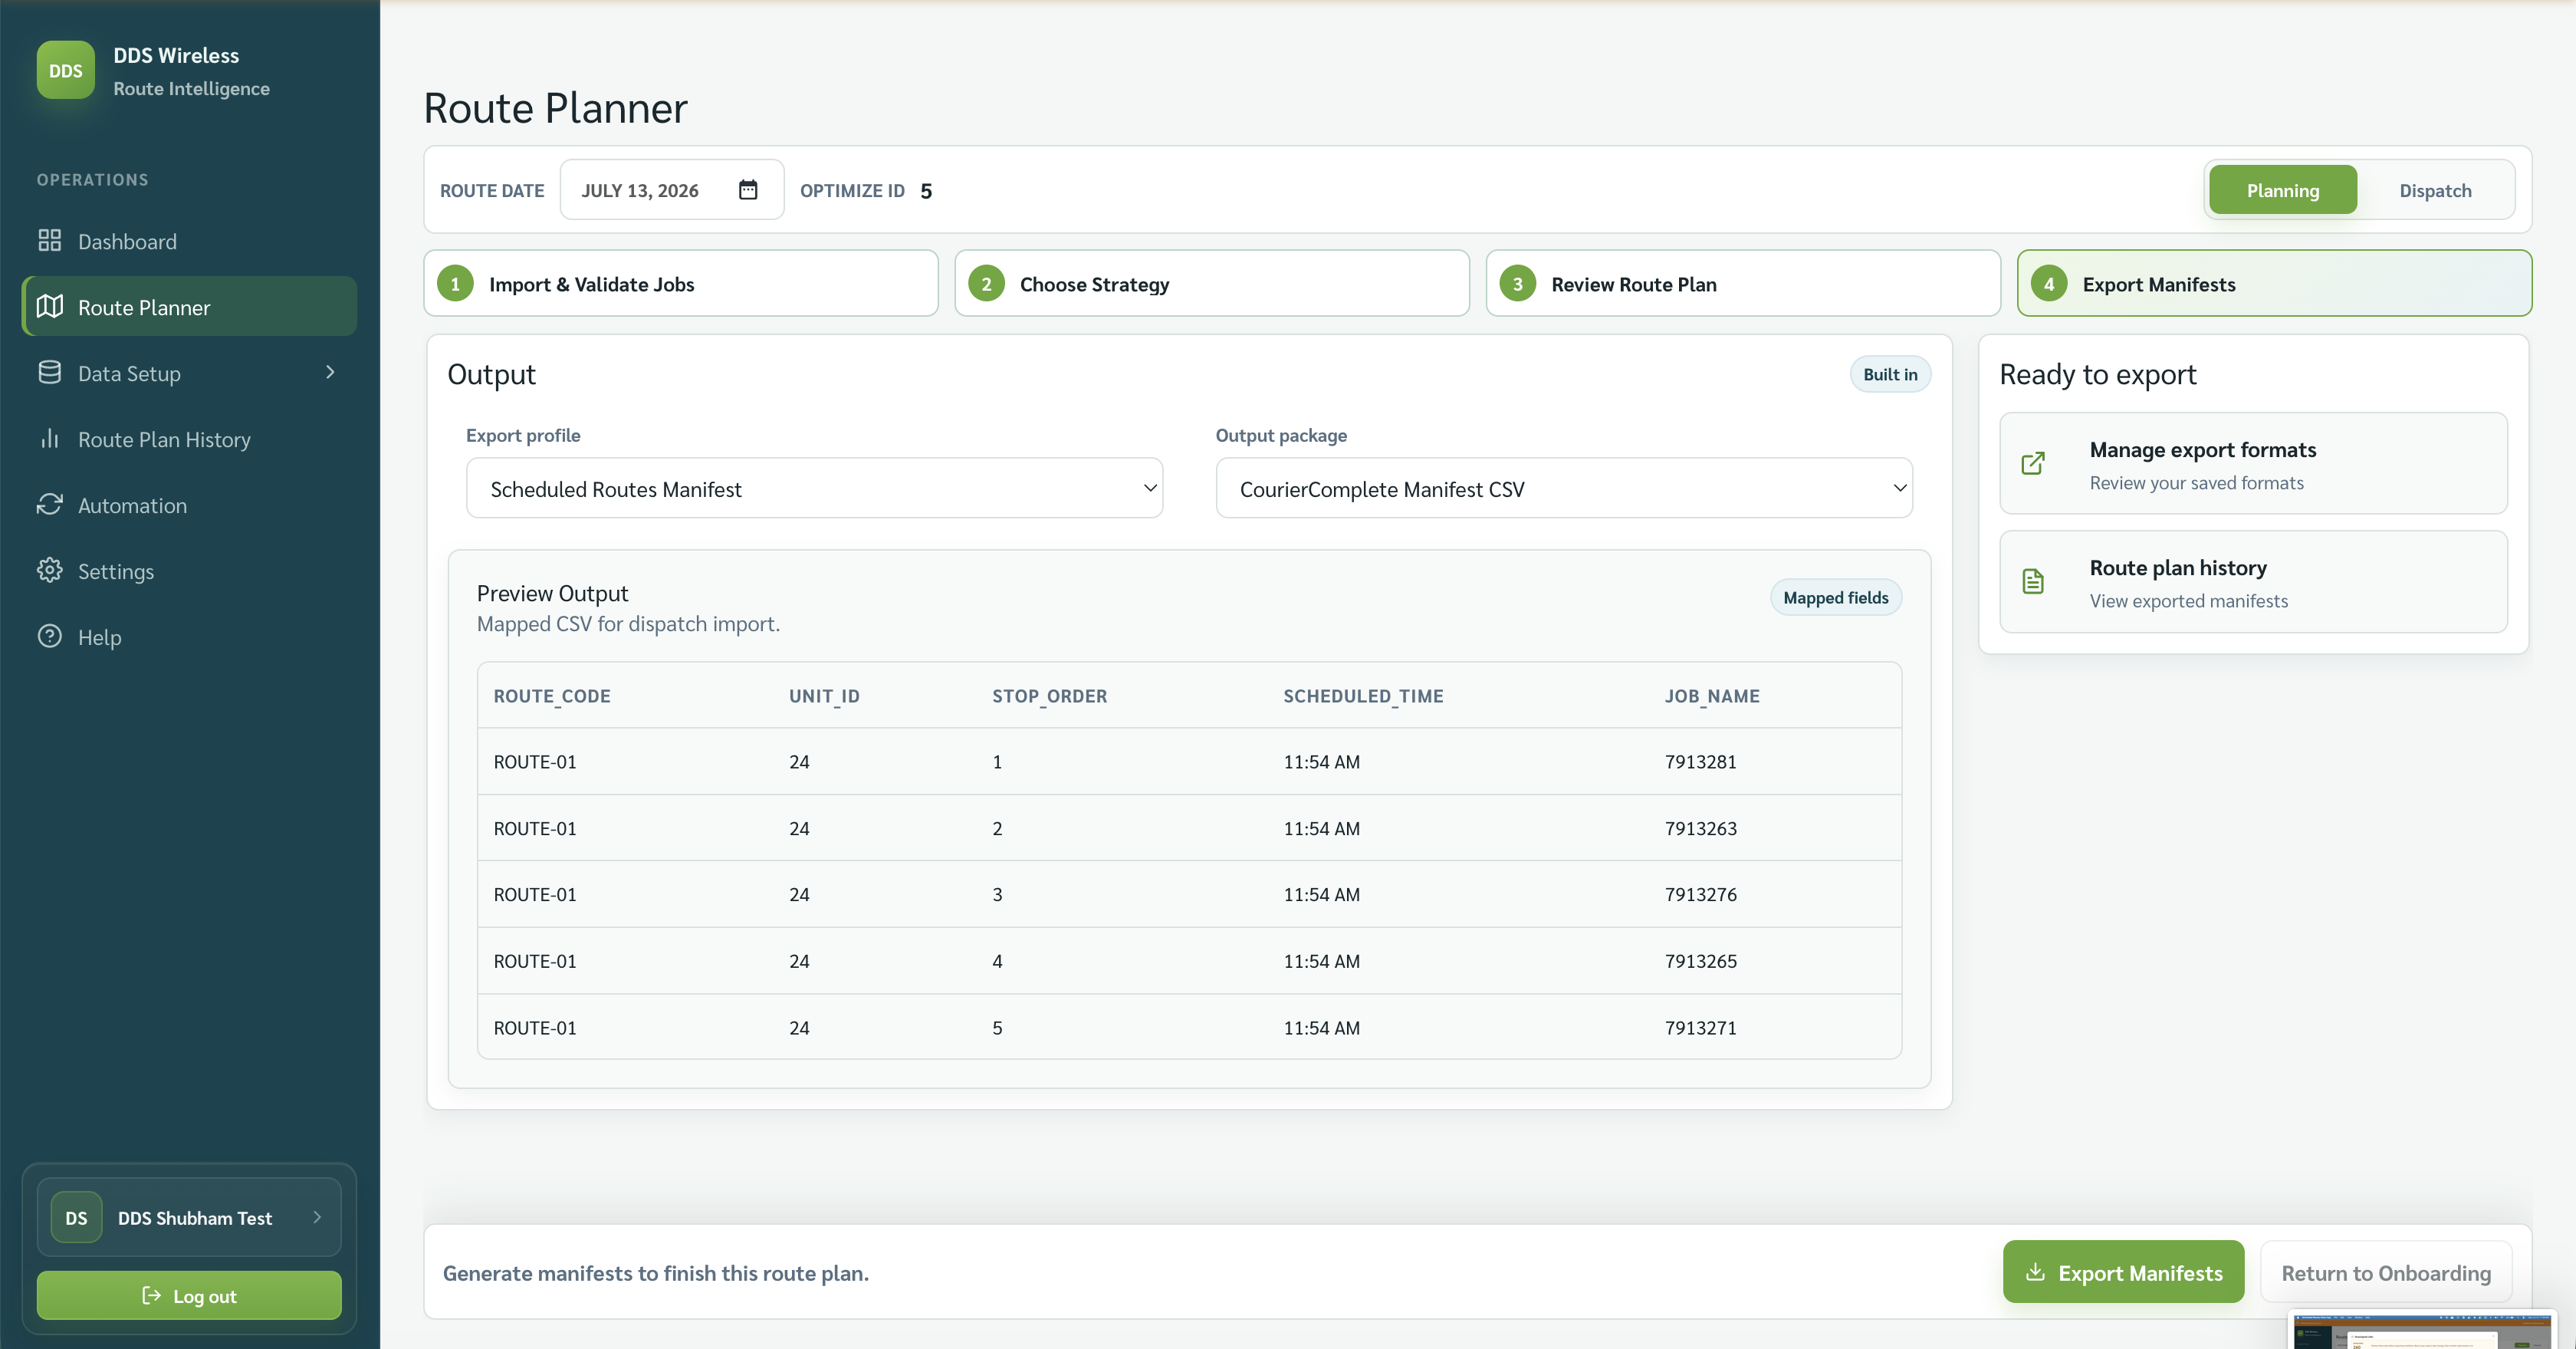
On Export Manifests, pick an Output package (PDF, Excel, or CSV) and select Export. Save the file — that's your driver manifest for the day. Past exports live under Route Plan History.
You're done
You've imported data, optimized, and exported a manifest. From tomorrow you only import the day's jobs — your vehicles and saved mappings carry over. See Daily planning workflow.
Related: Import your vehicles · Import your jobs · Choosing a strategy · Built-in exports