Onboarding wizard walkthrough
Applies to v1.7+ · ~5 min read · Getting started
The Onboarding wizard runs automatically the first time you sign in. It walks you through four steps to get your fleet set up and produce your first route plan. You can exit at any point and return later.
Already closed the wizard?
Reopen it anytime from Help → Open onboarding in the left navigation.
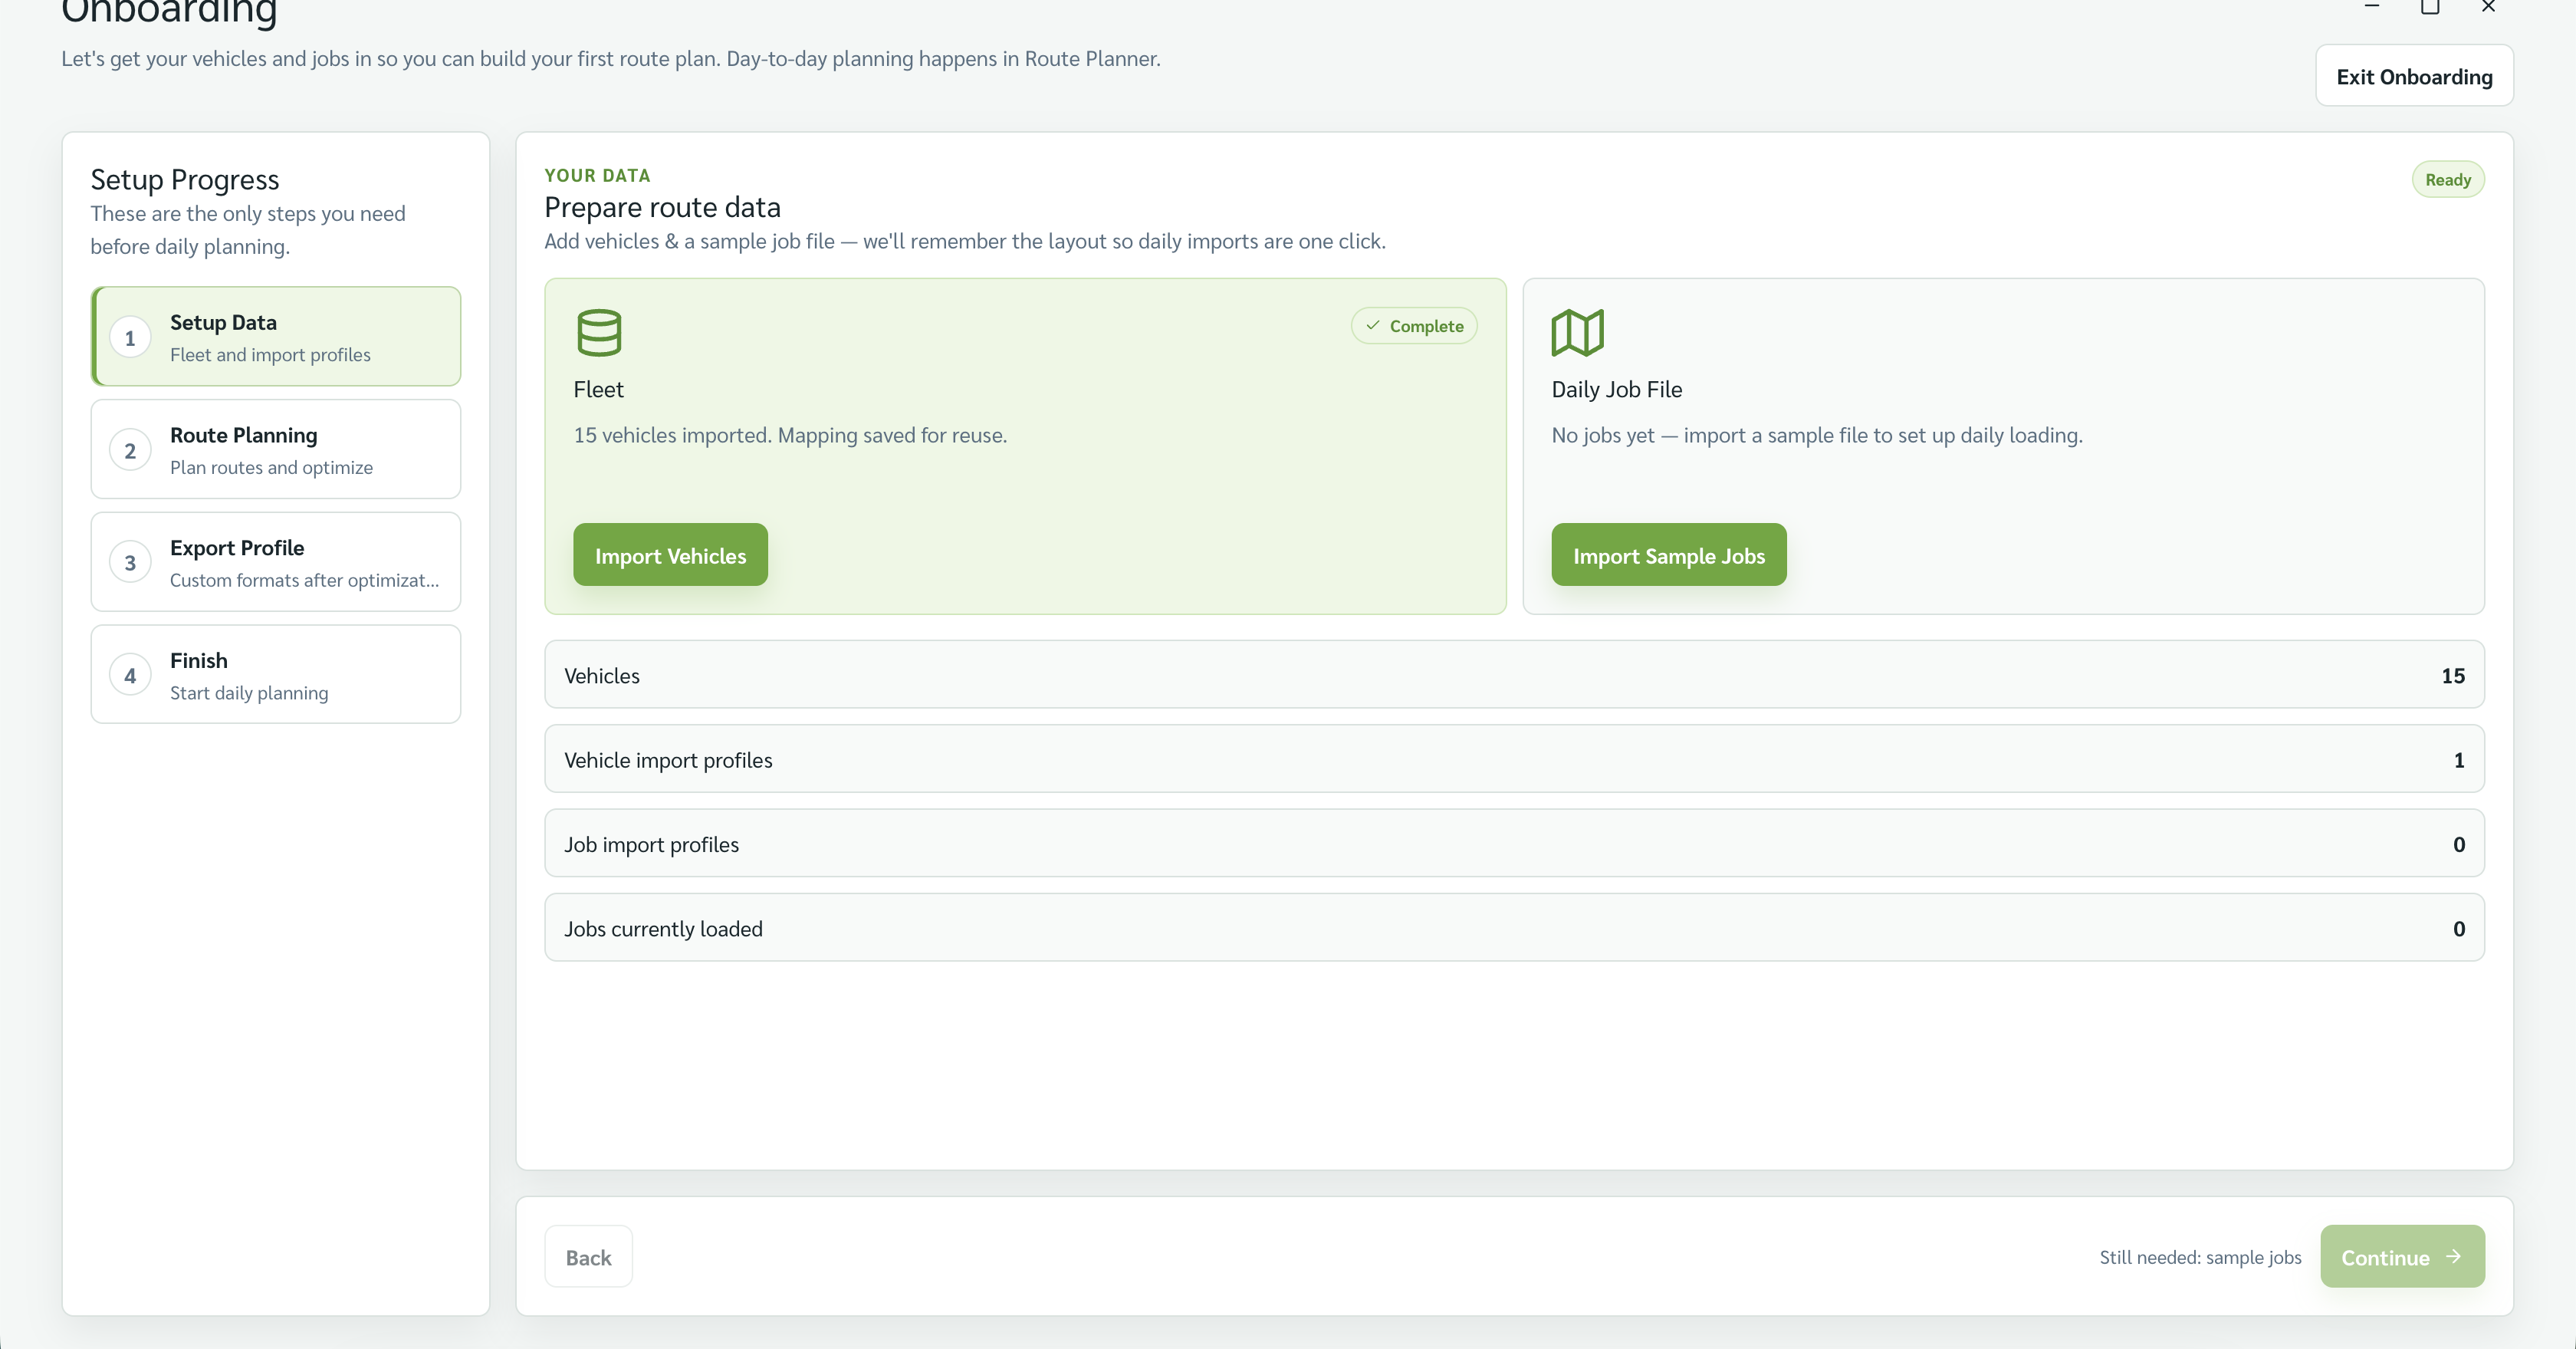
Step 1 — Setup Data
This step gets your vehicles and jobs into the app.
- Under Fleet, select Import Vehicles and choose your vehicles file (CSV or Excel). The app reads the columns and suggests a mapping.
- Review the mapping — confirm that fields like vehicle ID, capacity, shift times, and start location are matched correctly. The AI assistant panel can help combine separate columns (for example, street + city + postal into a single address field).
- Confirm the import. The Fleet card turns green when vehicles are loaded successfully.
- Under Daily Job File, select Import Sample Jobs and choose a jobs file. Review and confirm the mapping the same way.
Step is complete when: both the Fleet card and the Daily Job File card show green.
Set a start location (depot)
A vehicle without a start location causes most of its jobs to come back unassigned. Add the depot address during this step.
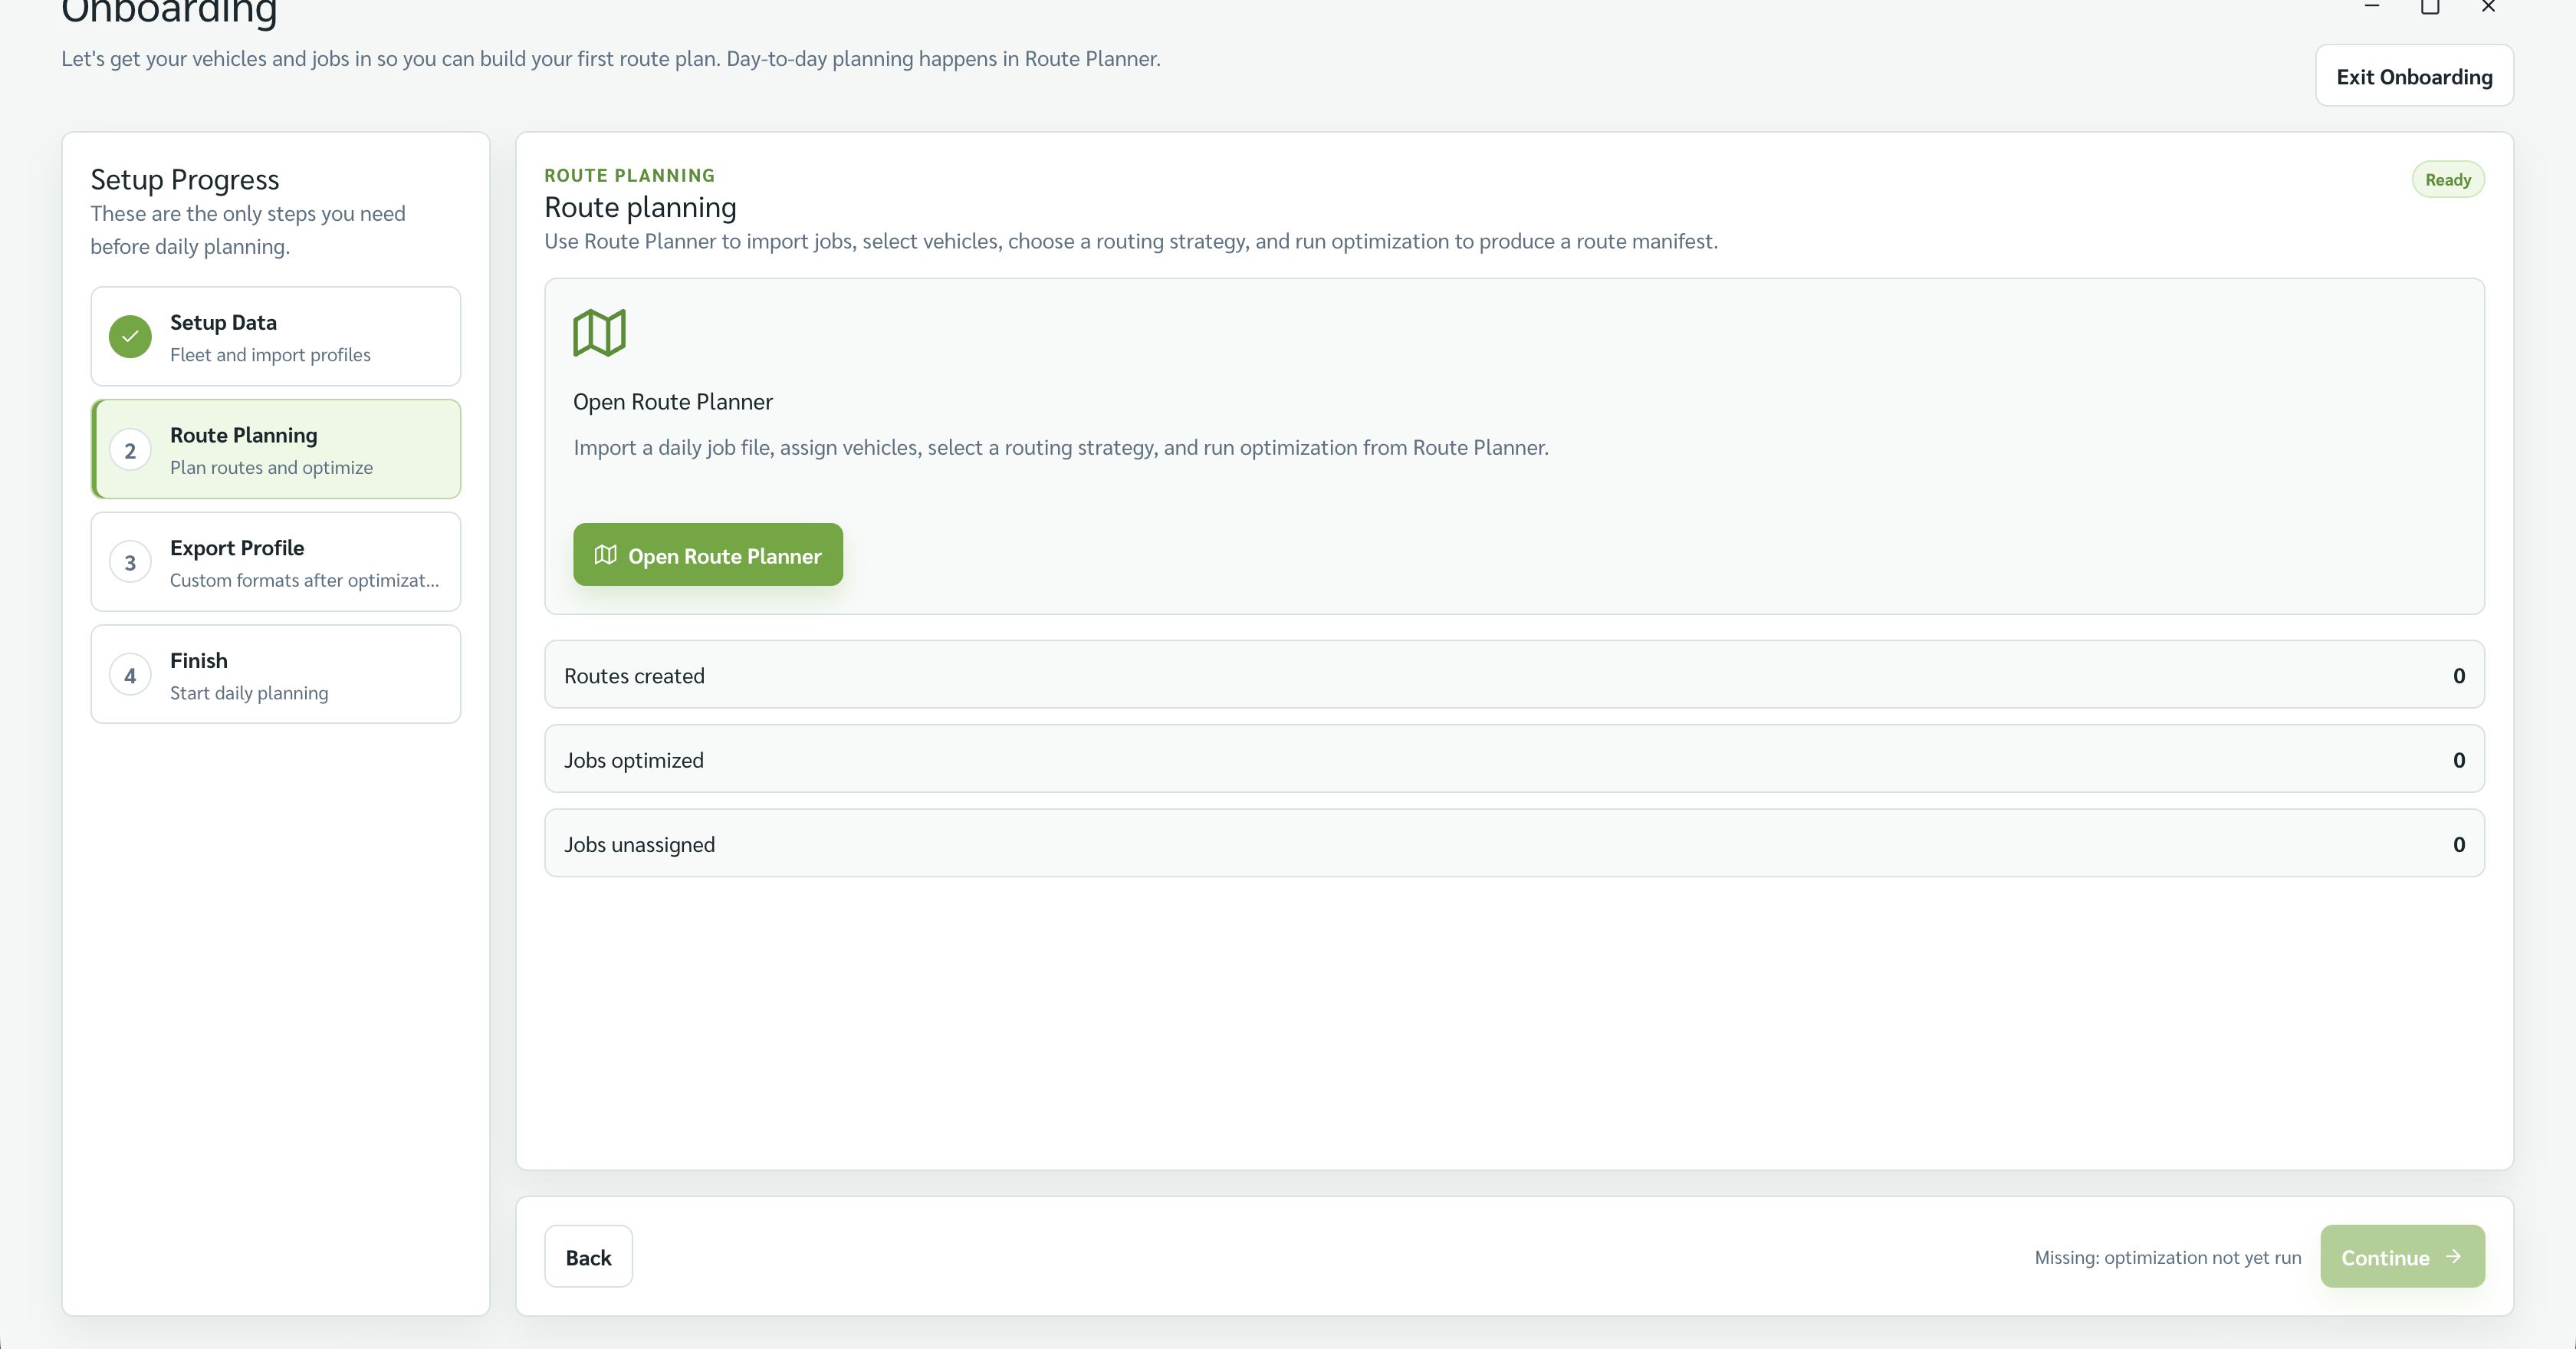
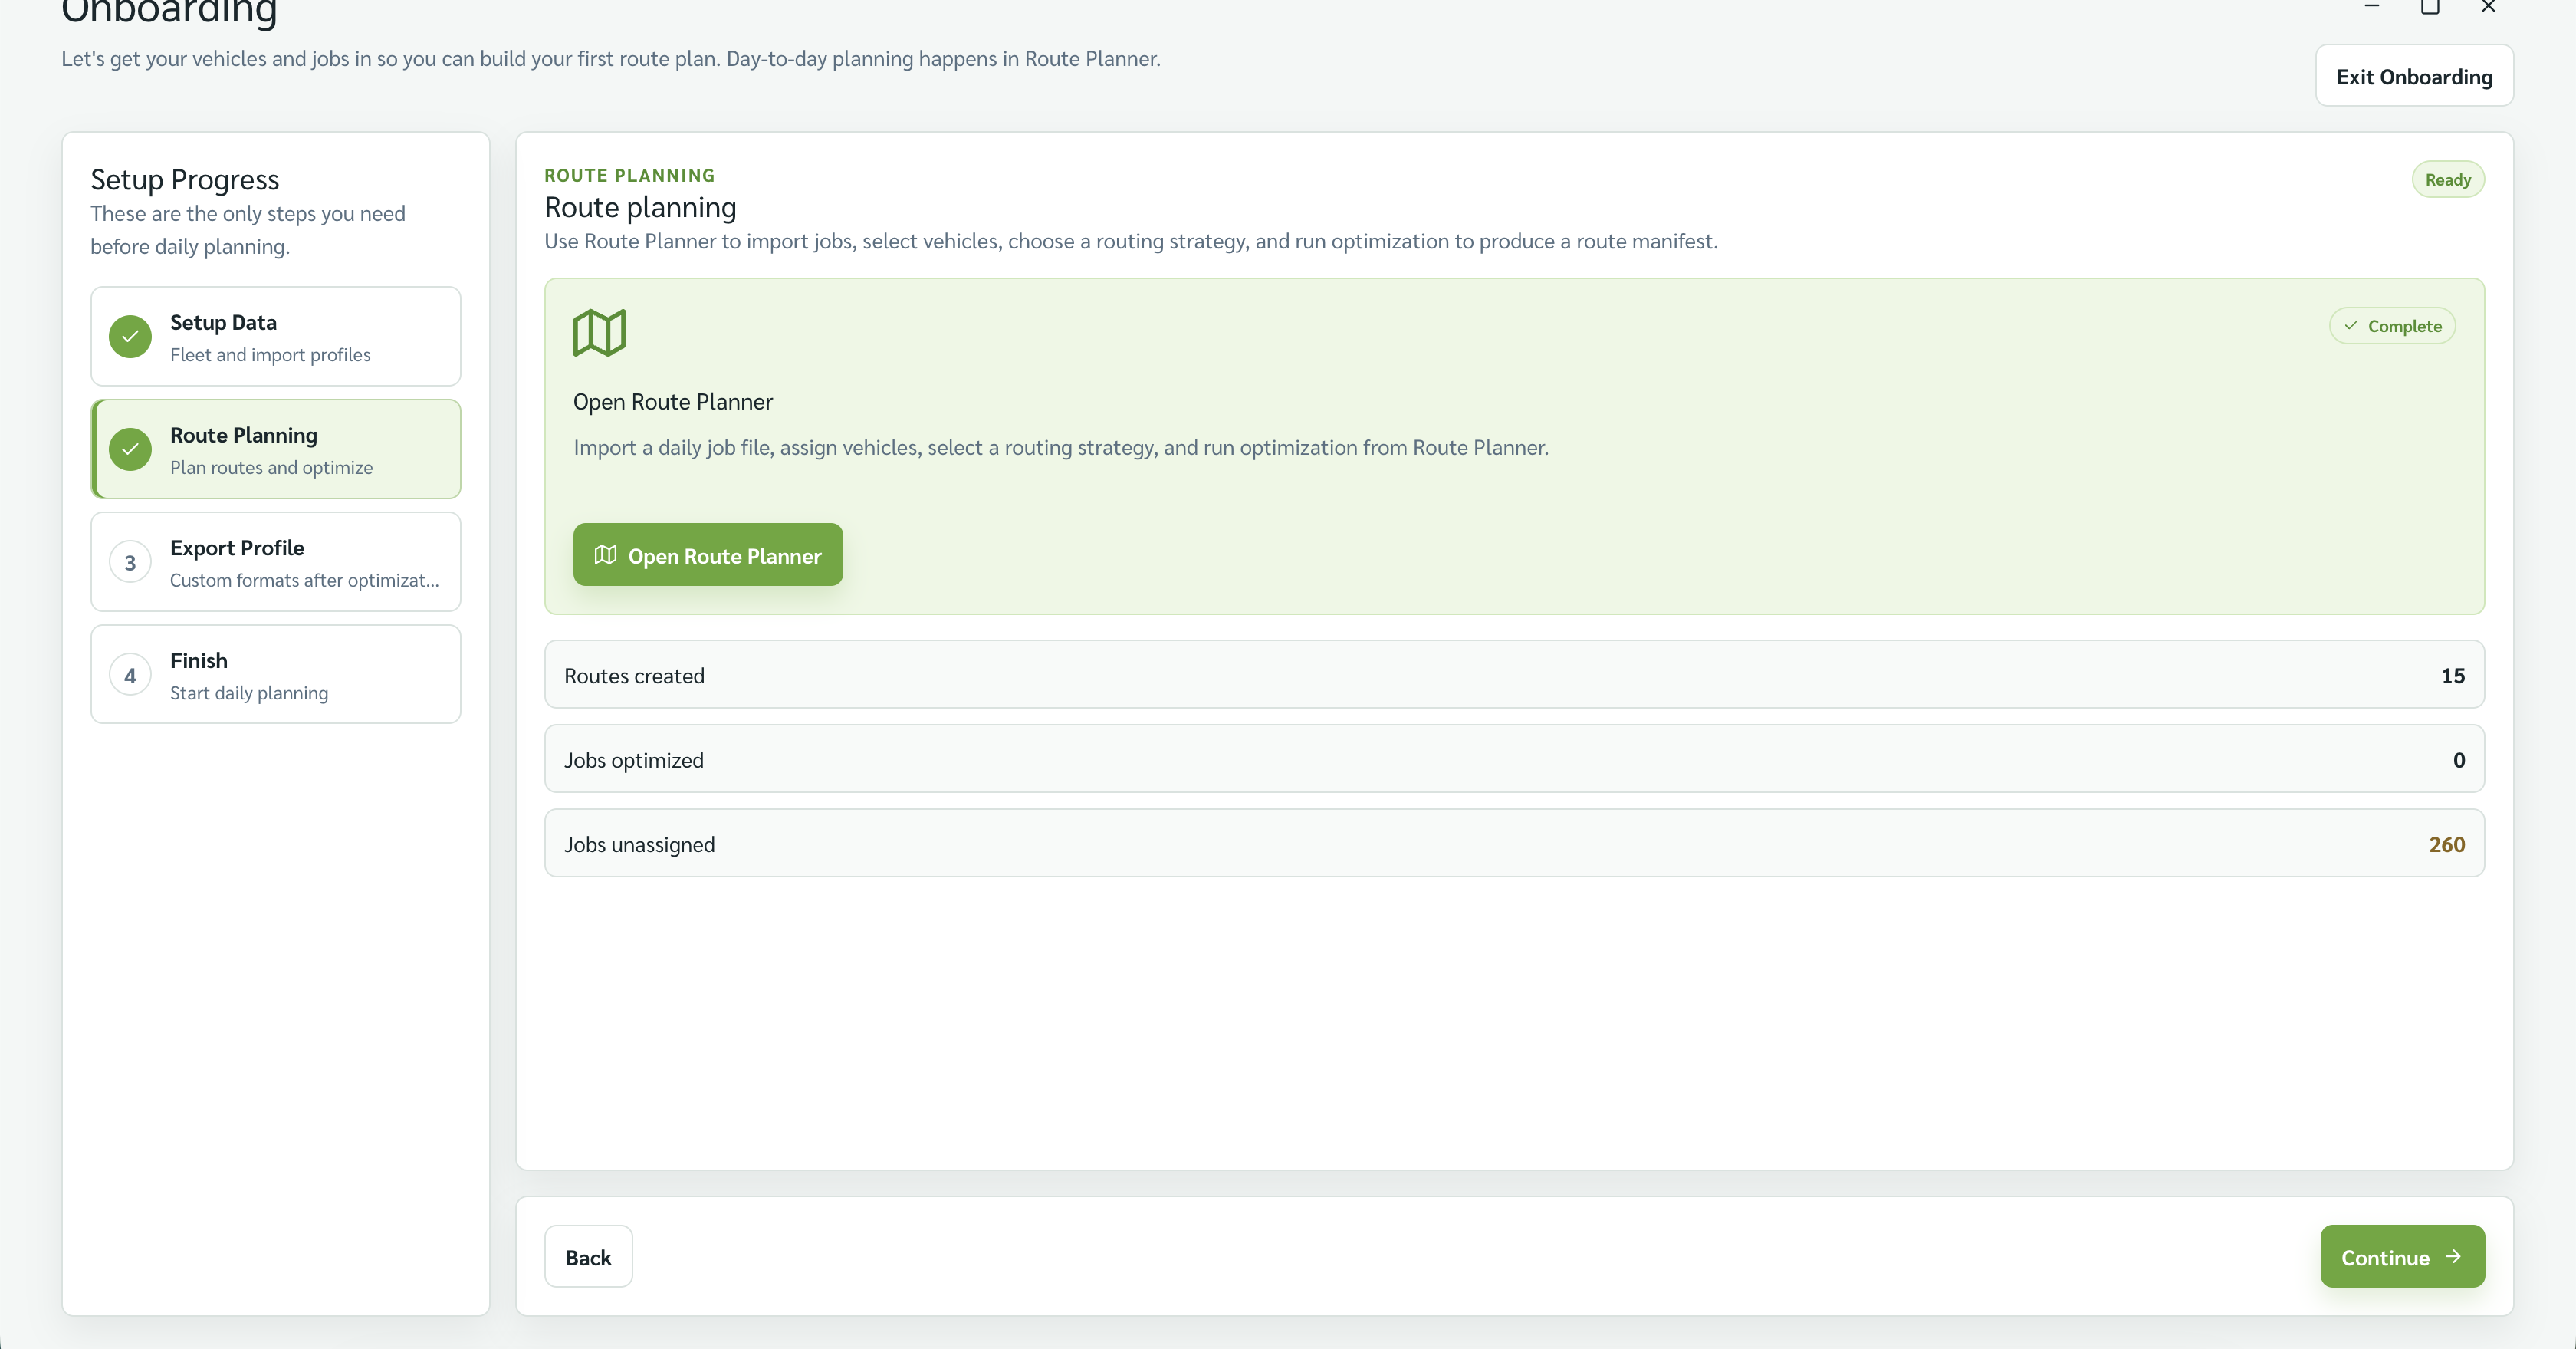
Step 2 — Route Planning
This step opens the Route Planner and runs your first optimization.
- Select Open Route Planner. The Route Planner opens with your imported data loaded.
- On Import & Validate Jobs, check that the job and vehicle counts look right. Review the Needs attention card for any warnings, then select Continue to Strategy.
- On Choose Strategy, pick the optimization approach that fits your operation — Minimize Travel Time, Minimize Vehicles Used, or Balanced Workload Among Vehicles. Optimization runs automatically.
- On Review Route Plan, check the result: routes created, jobs optimized, and any unassigned jobs. Select View reasons to see why a job wasn't placed.
- When the plan looks good, select Continue to Export.
Step is complete when: you reach the Export Manifests screen.
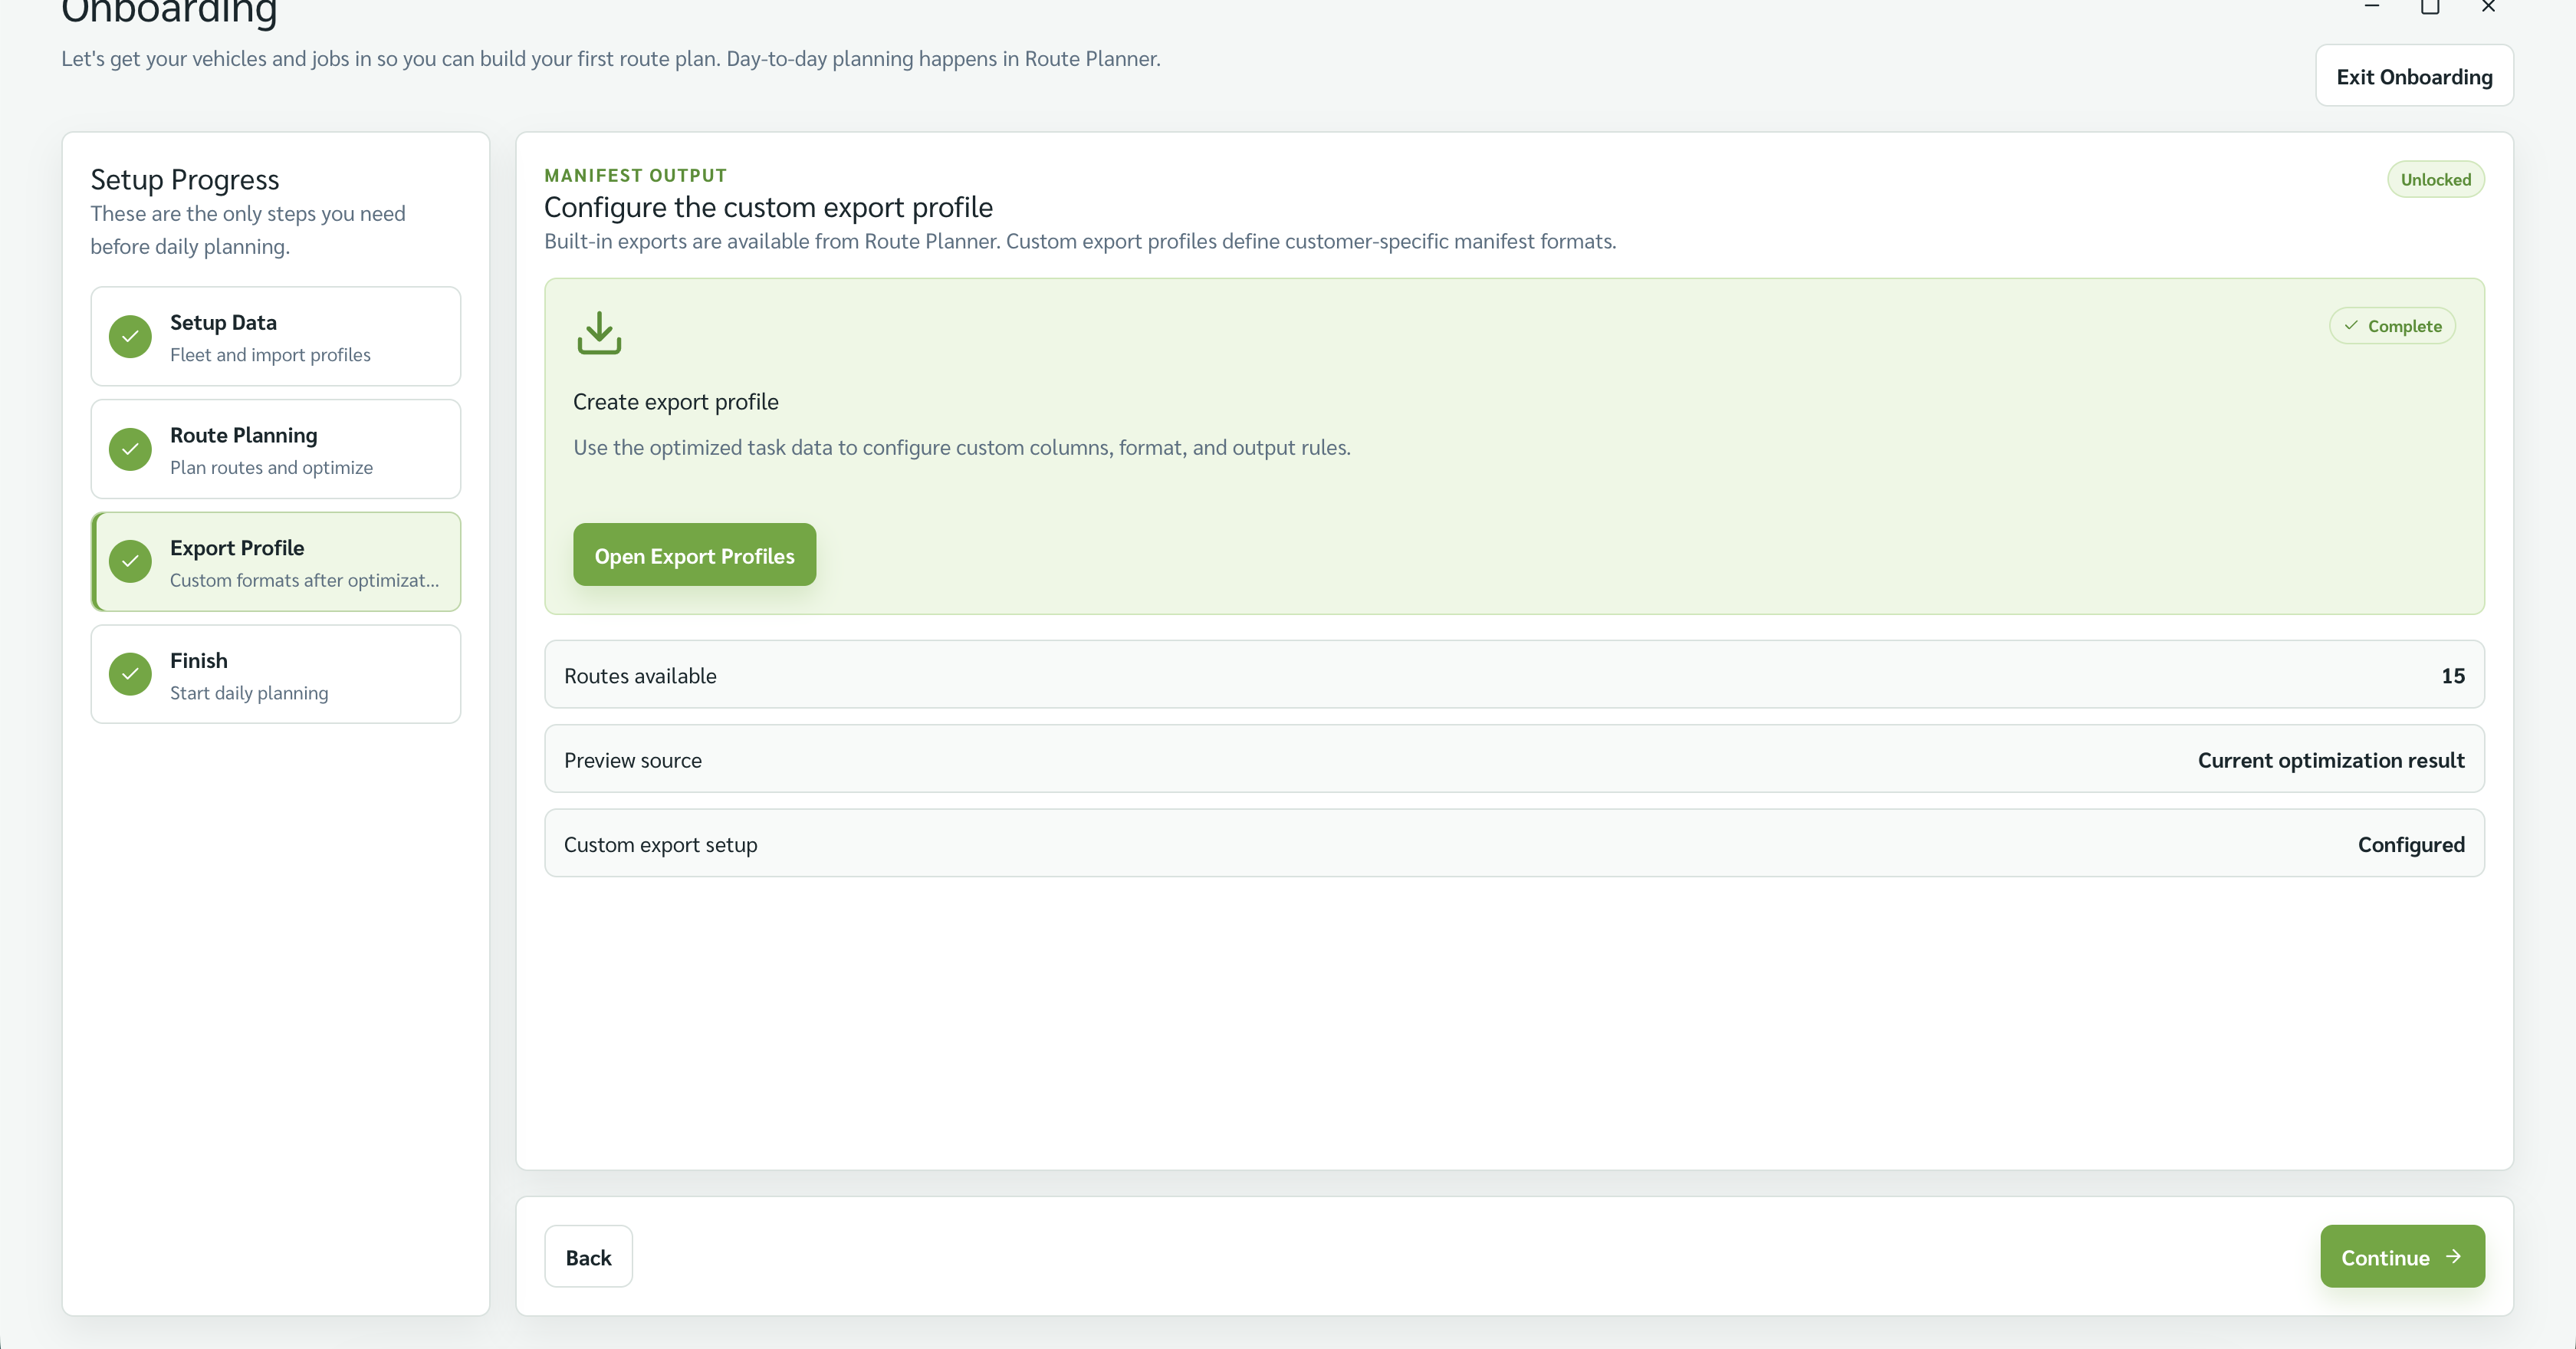
Step 3 — Export Profile (optional)
This step lets you set up a custom manifest layout that matches your company's format.
- Select New Profile and upload an example manifest file — the format you want the app to produce.
- Review how the app maps the optimized data to your file's columns.
- Confirm to save the export profile.
Step is complete when: your export profile is saved, or you skip this step if the built-in formats (PDF, Excel, CSV) are enough.
You can skip this step
If you don't need a custom manifest layout, select Continue to move on. You can always create an export profile later under Data Setup → Manage Export Profiles.
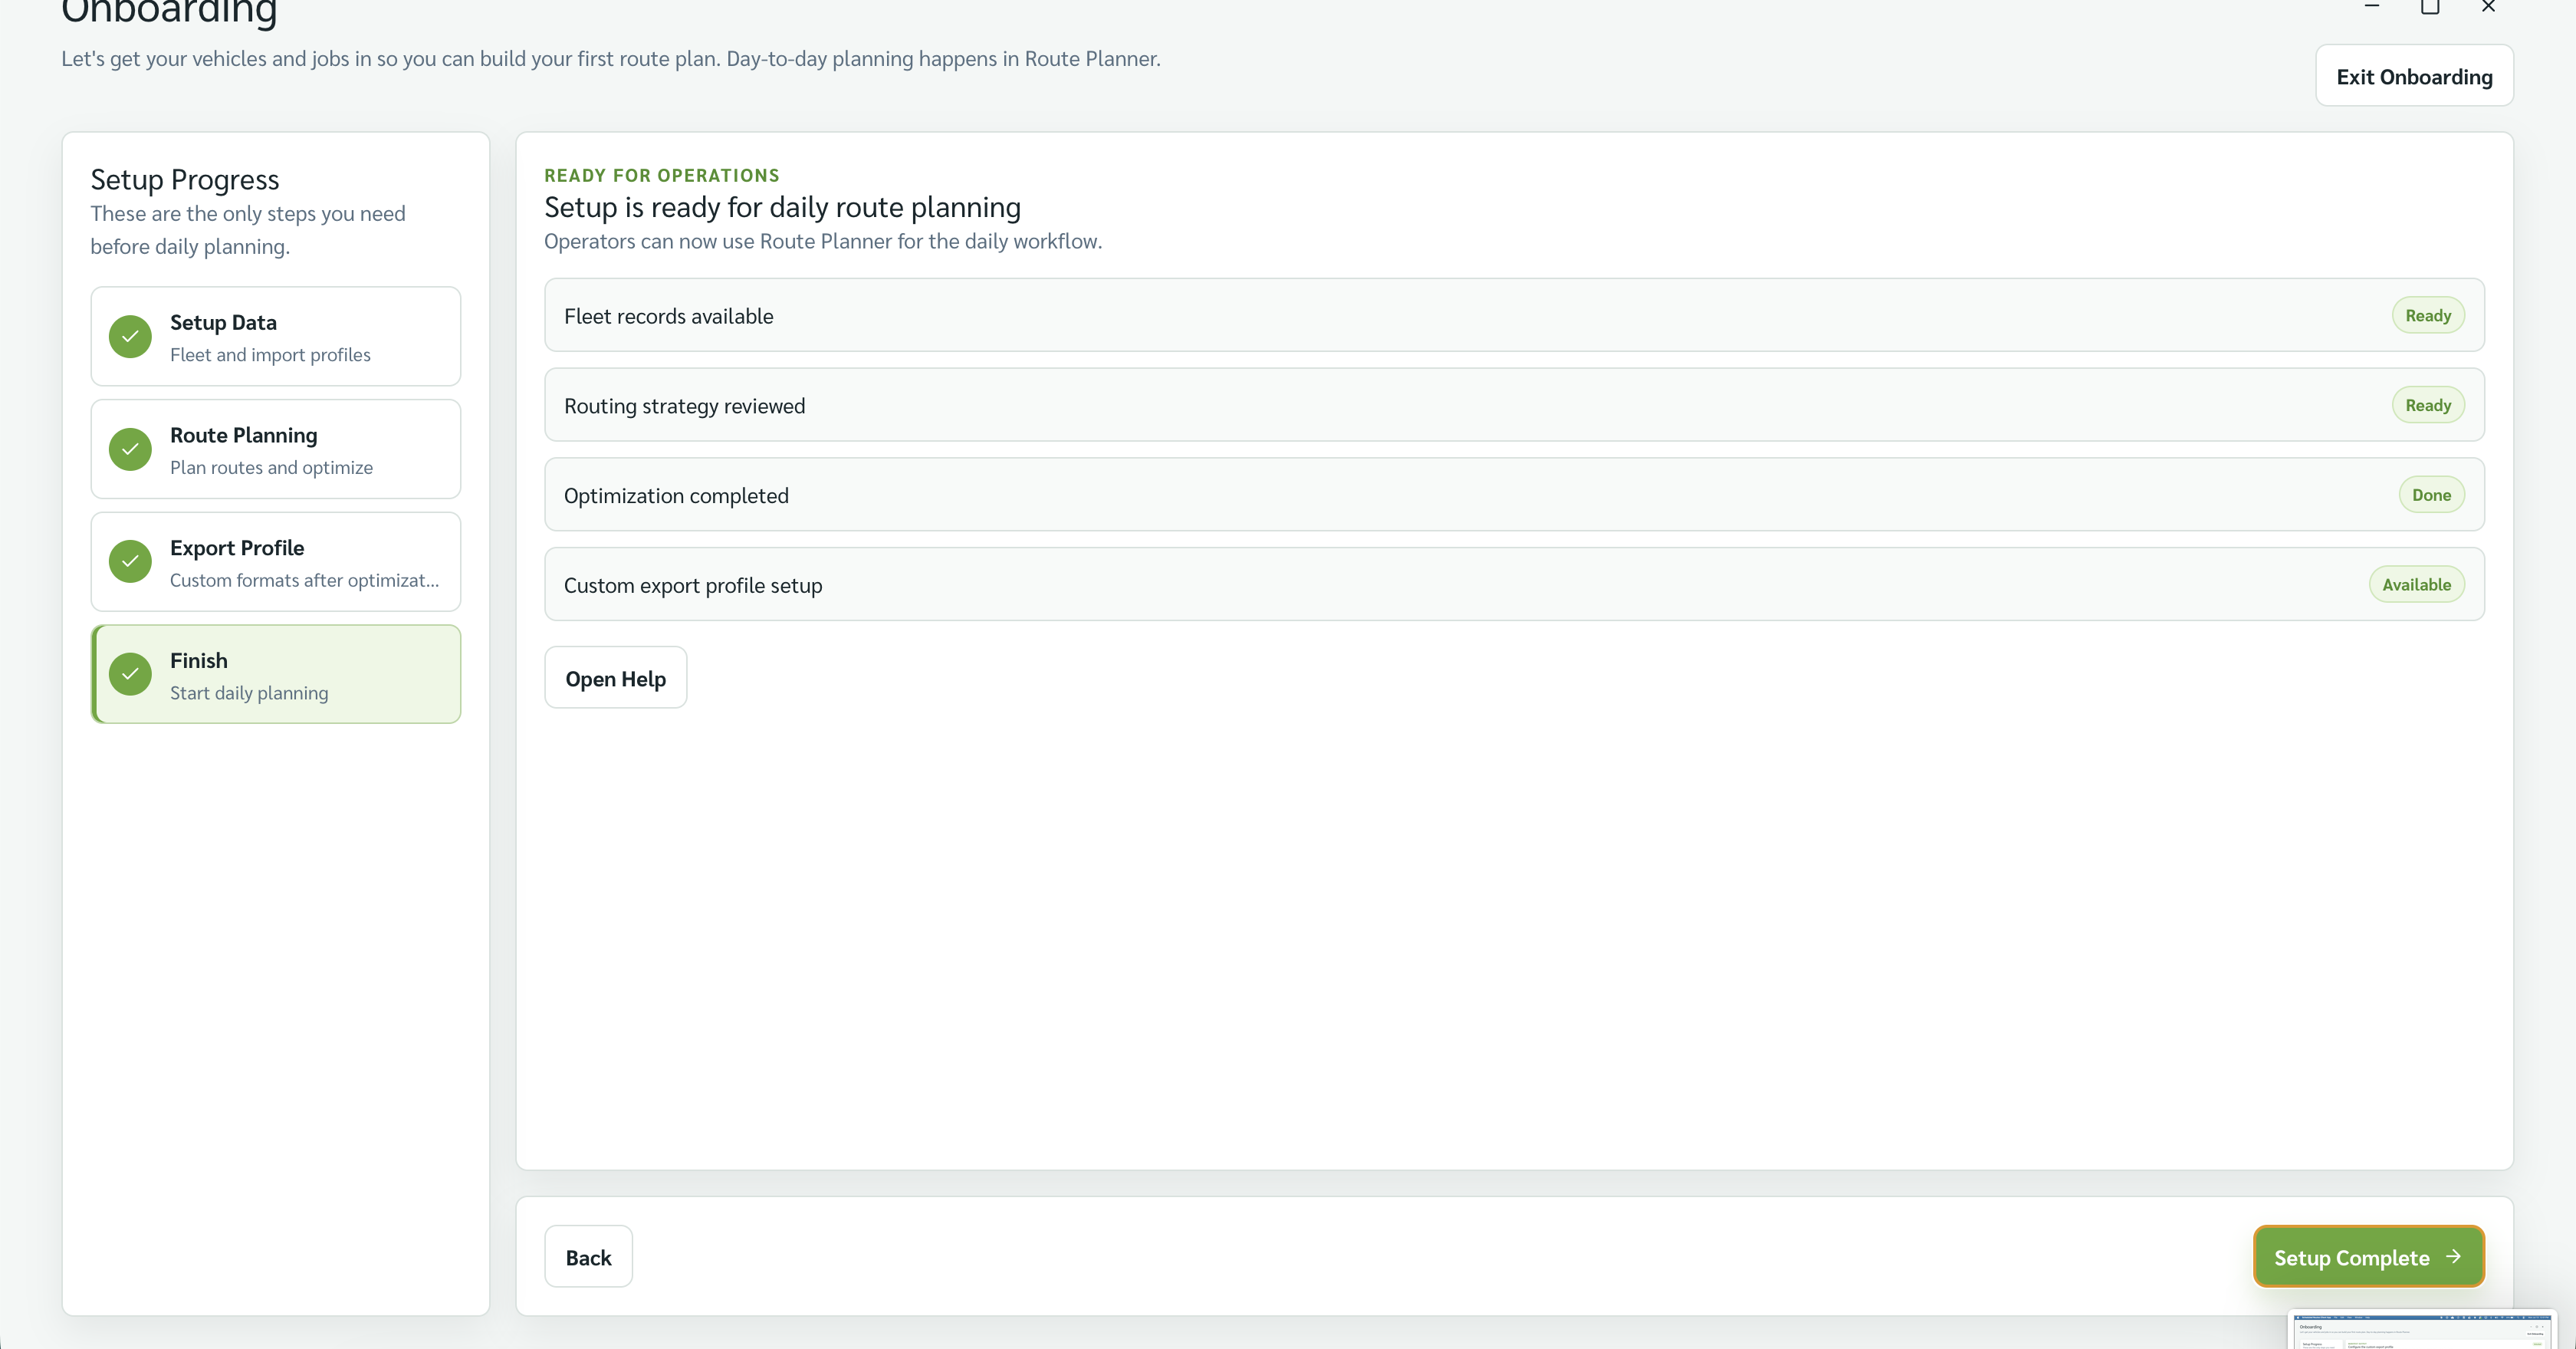
Step 4 — Finish
A summary screen confirms that your setup is complete. Select Finish to close the wizard and go to the Dashboard.
What's carried over: your vehicles, saved mappings, and export profiles persist automatically. Tomorrow you only need to import the day's jobs.
Exiting and returning to onboarding
- Exit early: Select Exit Onboarding at any point. The wizard closes and you land in the app.
- While in the app mid-onboarding: an orange "Onboarding in progress — Return to Onboarding" banner appears at the top of every screen. Select it to jump back to where you left off.
- Reopen later: Go to Help → Open onboarding in the left navigation.
You're done
You've set up your fleet, run your first optimization, and optionally configured a custom manifest format. Your vehicles and saved mappings are in place — daily planning from here is just importing today's jobs and exporting the manifest.
Related: Quick start: your first route plan · Key concepts · What is Scheduled Routes? · Import your vehicles